Visual Editor for LowCode Settings
For your convenience, we have added a visual editor for these settings, which you can opt for instead of adding the code to the .4gl file or .fm2 form file. Note that the code added with visual editor appears in the beginning of your .fm2 form file.
To specify settings for LowCode, do the following:
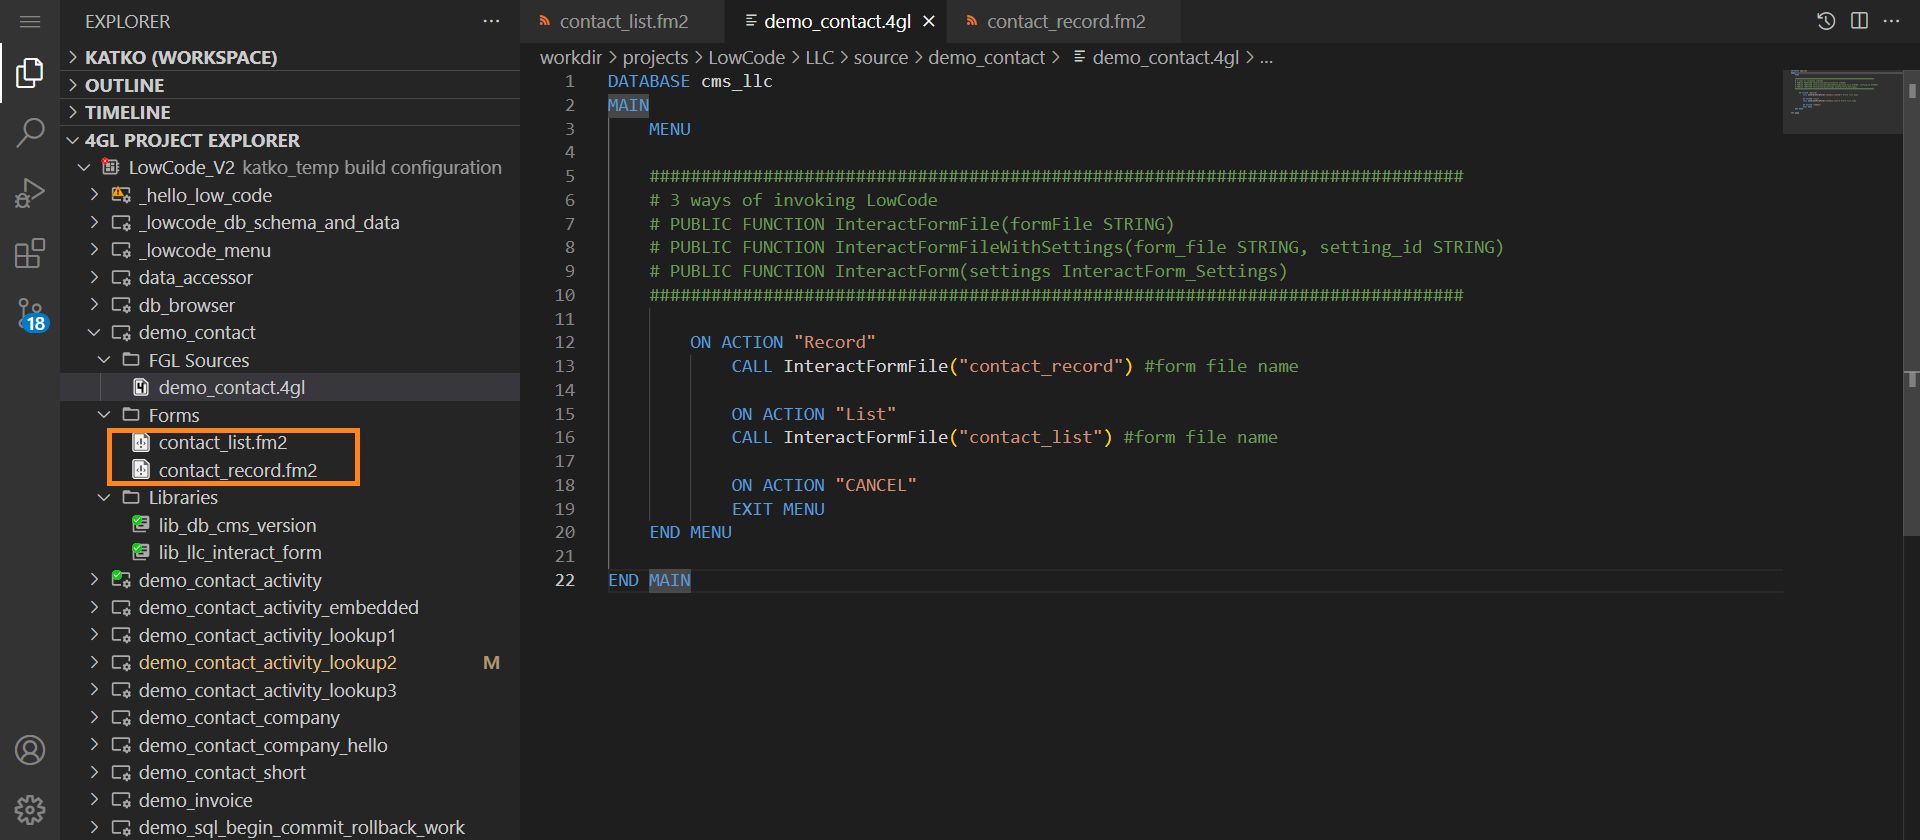
Step 1. Add a trigger action for the InteractFormFile call, and specify the names of the form file(s). In our example, we have two form files - for a list view and a single record view:
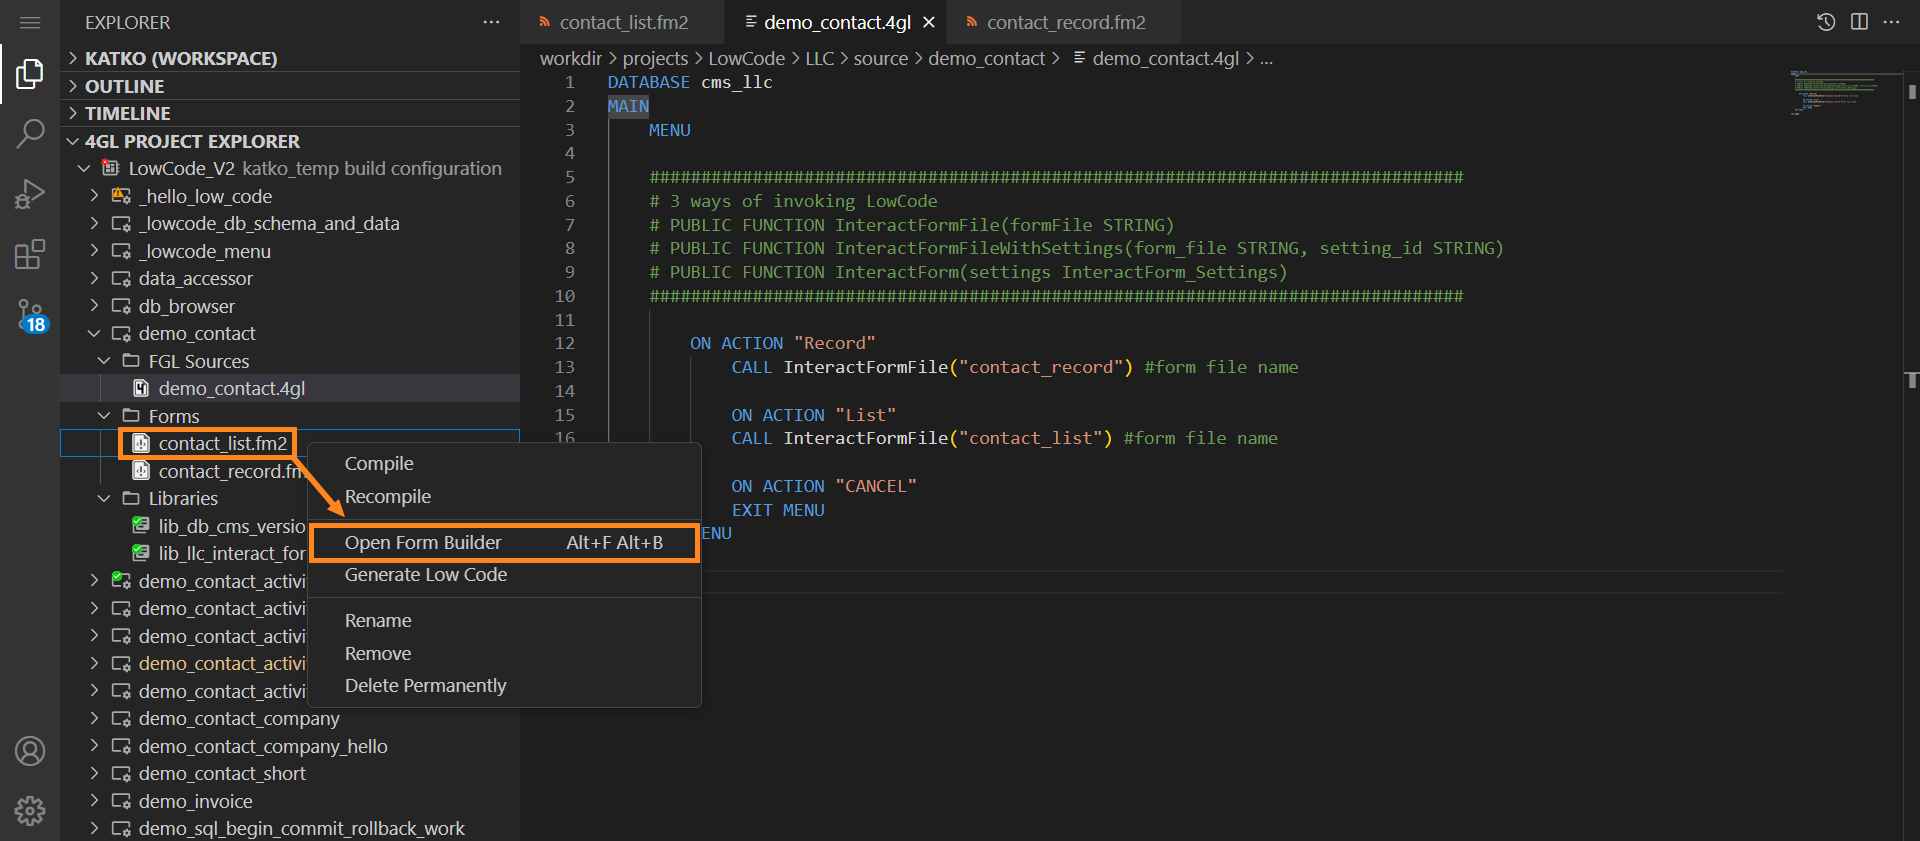
Step 2. Right-click the form file in FGL Project Explorer, and select the Open Form Builder option:
Step 3. In the Form Builder's Form Structure, select the Form object, and find the InteractSettings property in the Properties view:
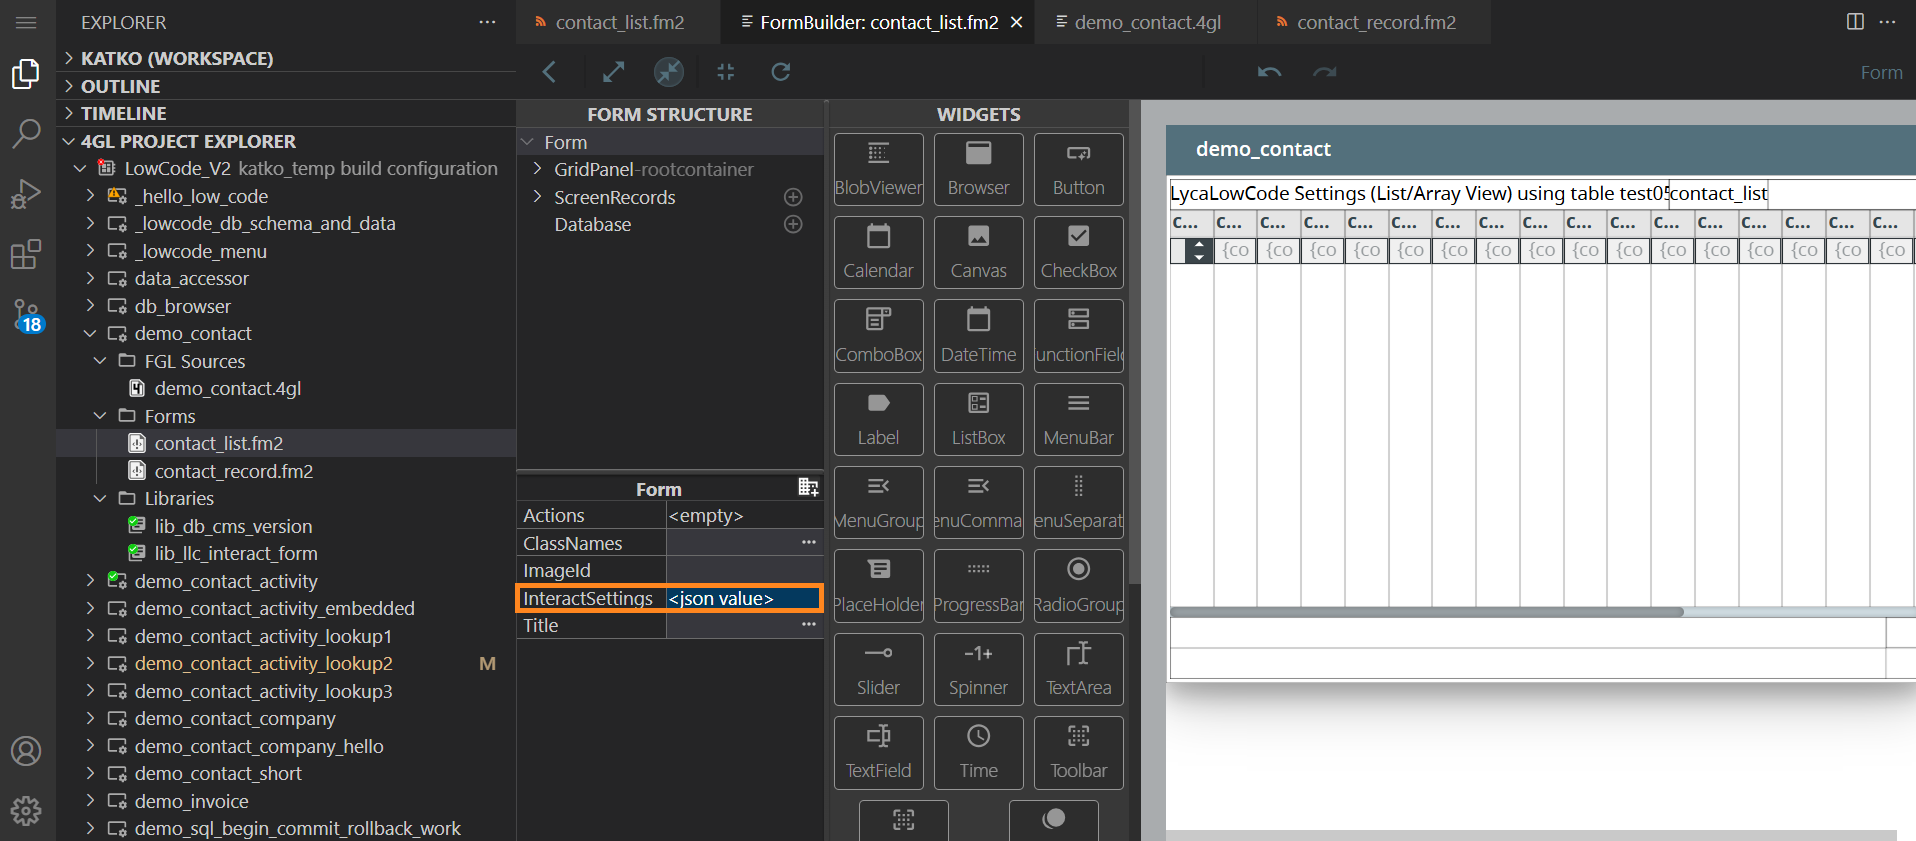
Step 4. Double-click the value. The InteractForm Settings Visual Editor will open:
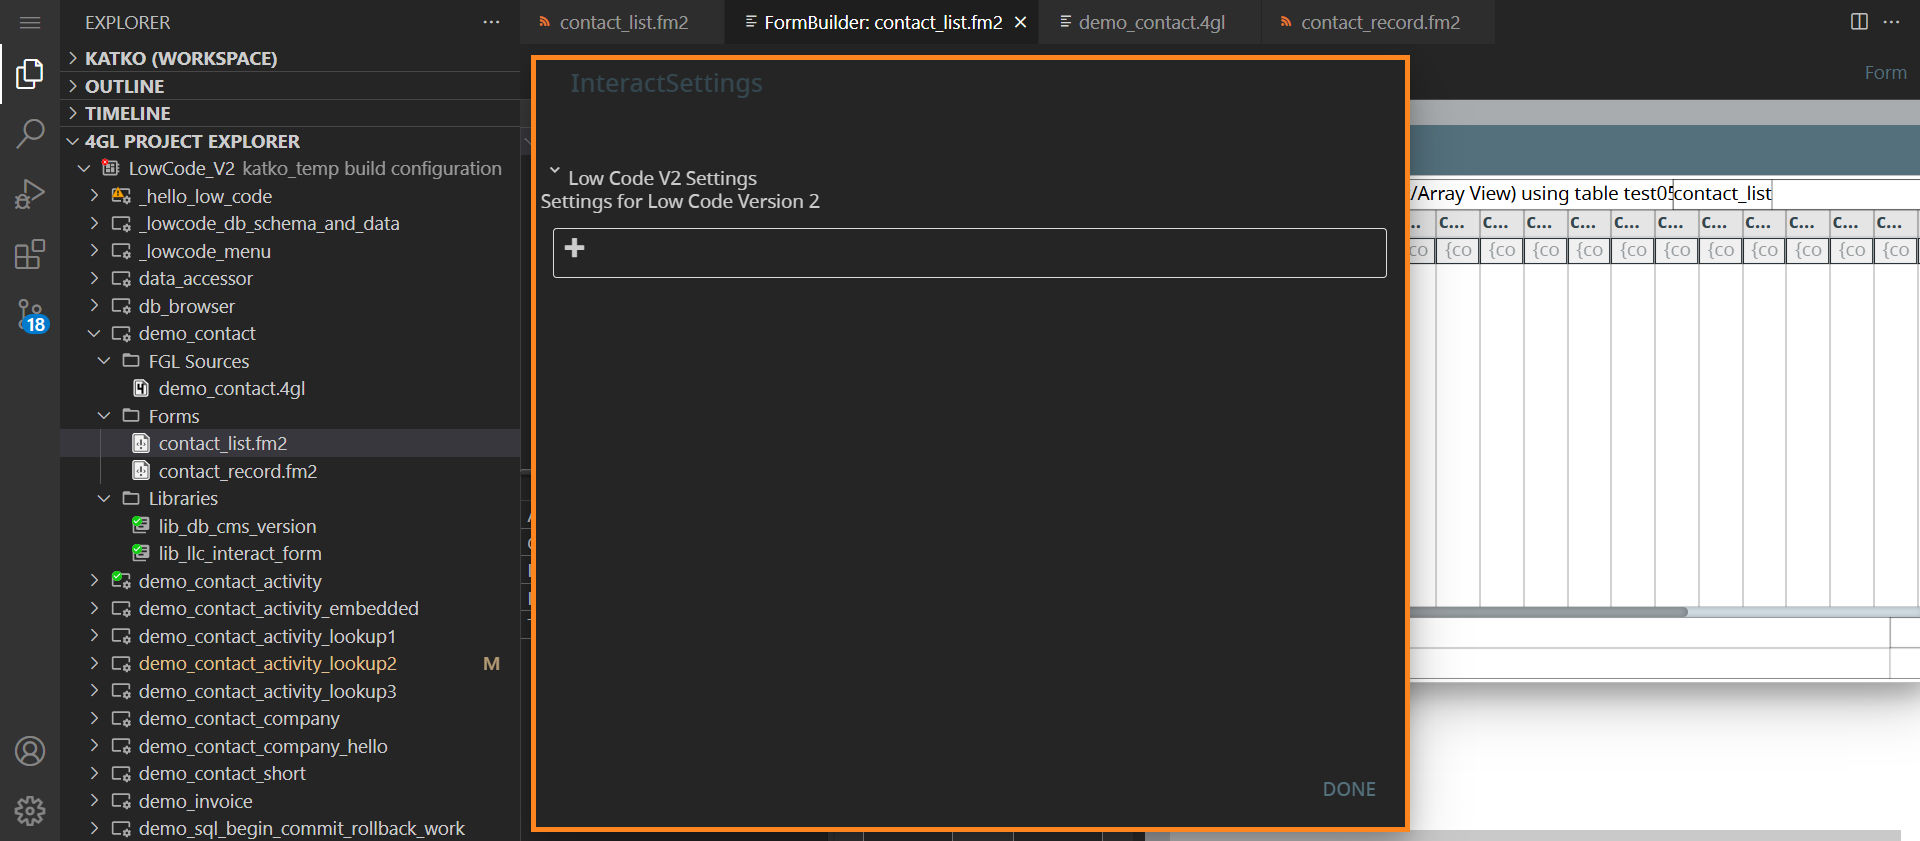
Step 5. Click the Add Item (+) option. The list of the settings will open. These are the settings for the InteractForm object:
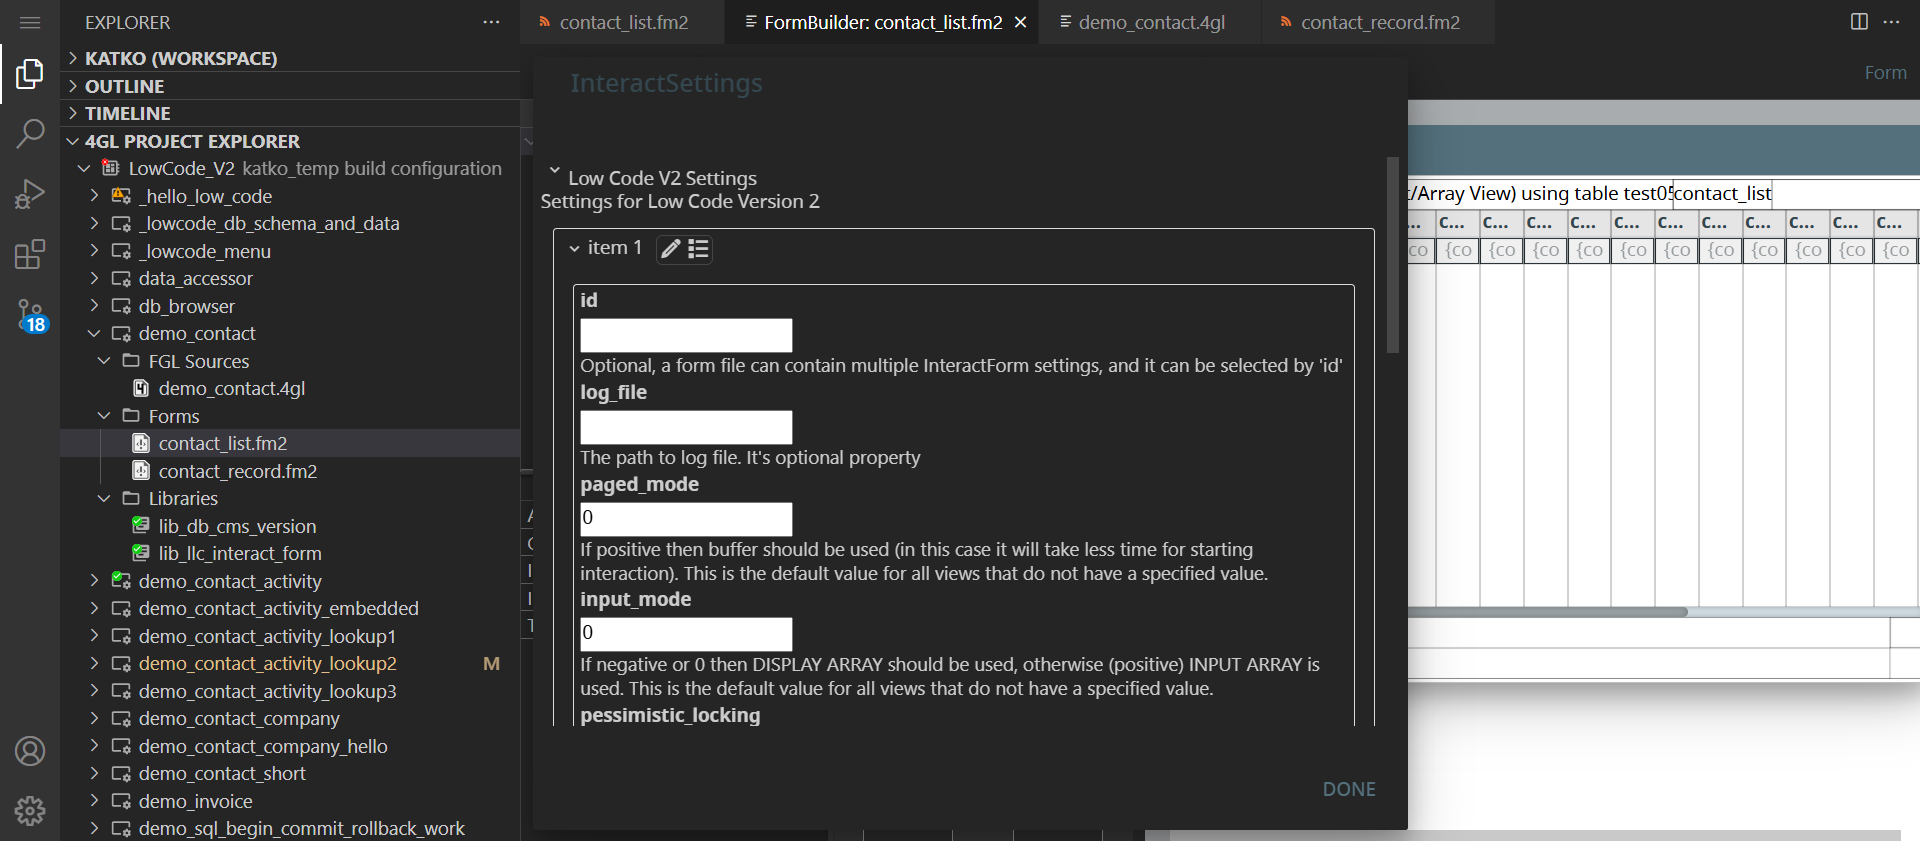
Now, you can specify the settings you need. Scroll up and down the list to access all of these settings.
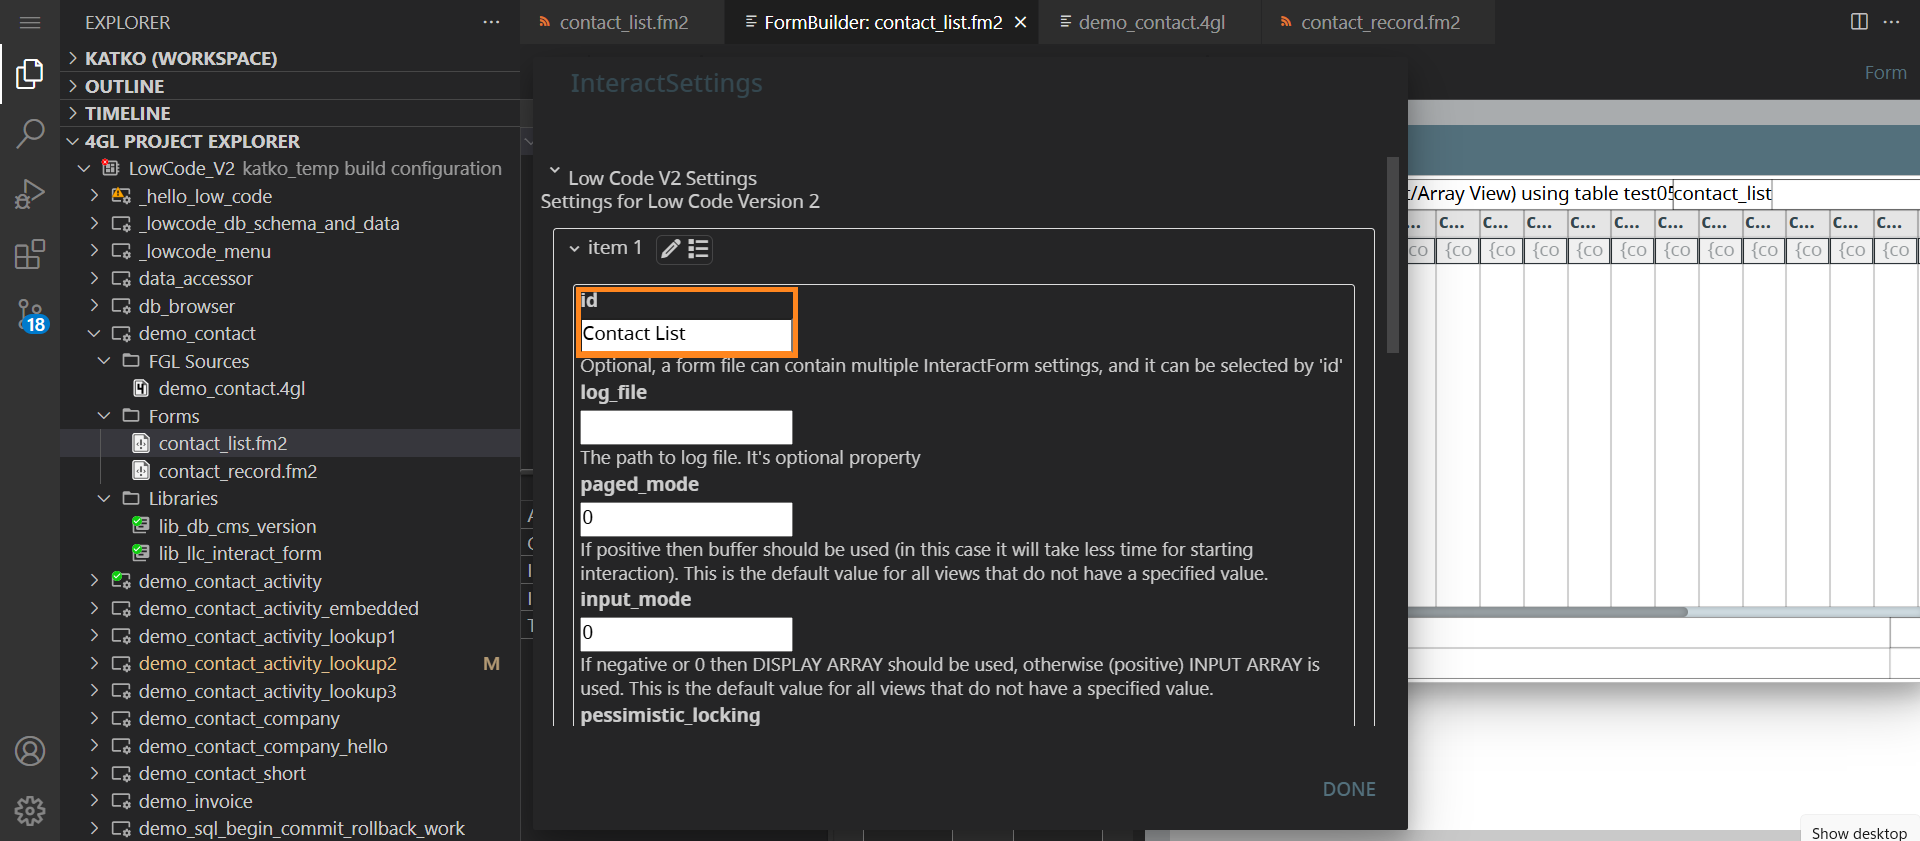
Let’s assign an id for the View (interaction with a certain database table). In this example, let's call one the Contact List:
To configure a View, find the Views setting:
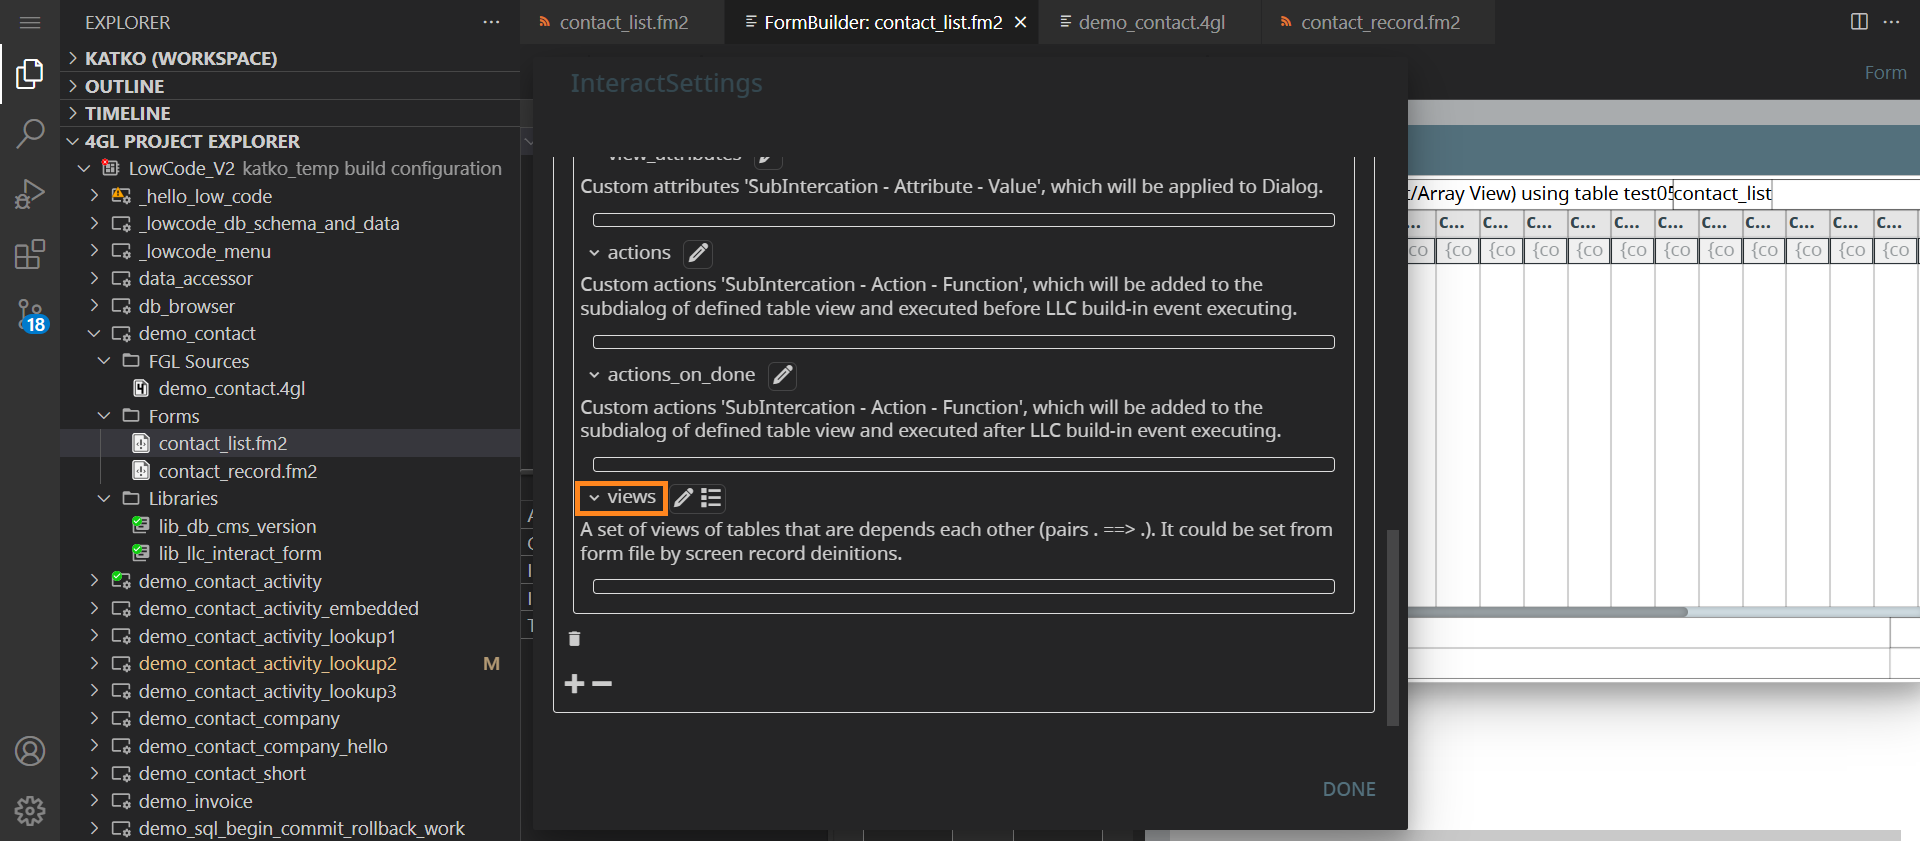
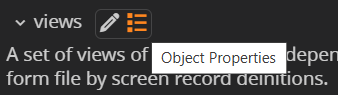
Next, toggle the Object Properties button:
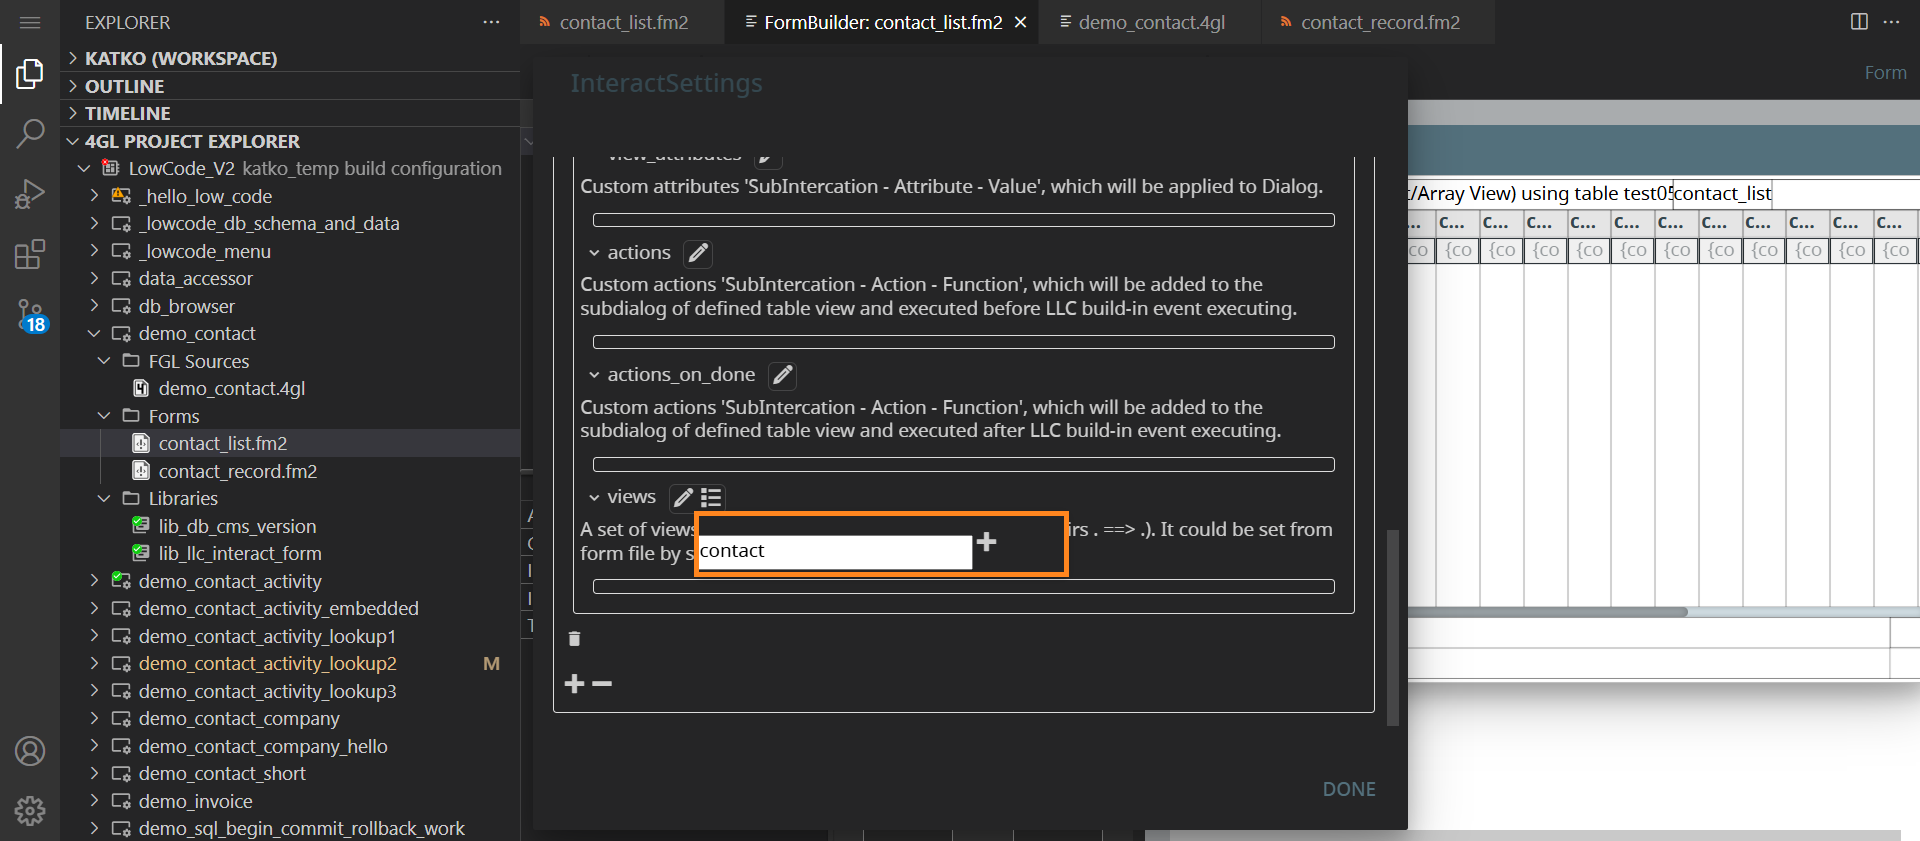
In the dialog that opens, enter the database table name, and click the + (Add) button:
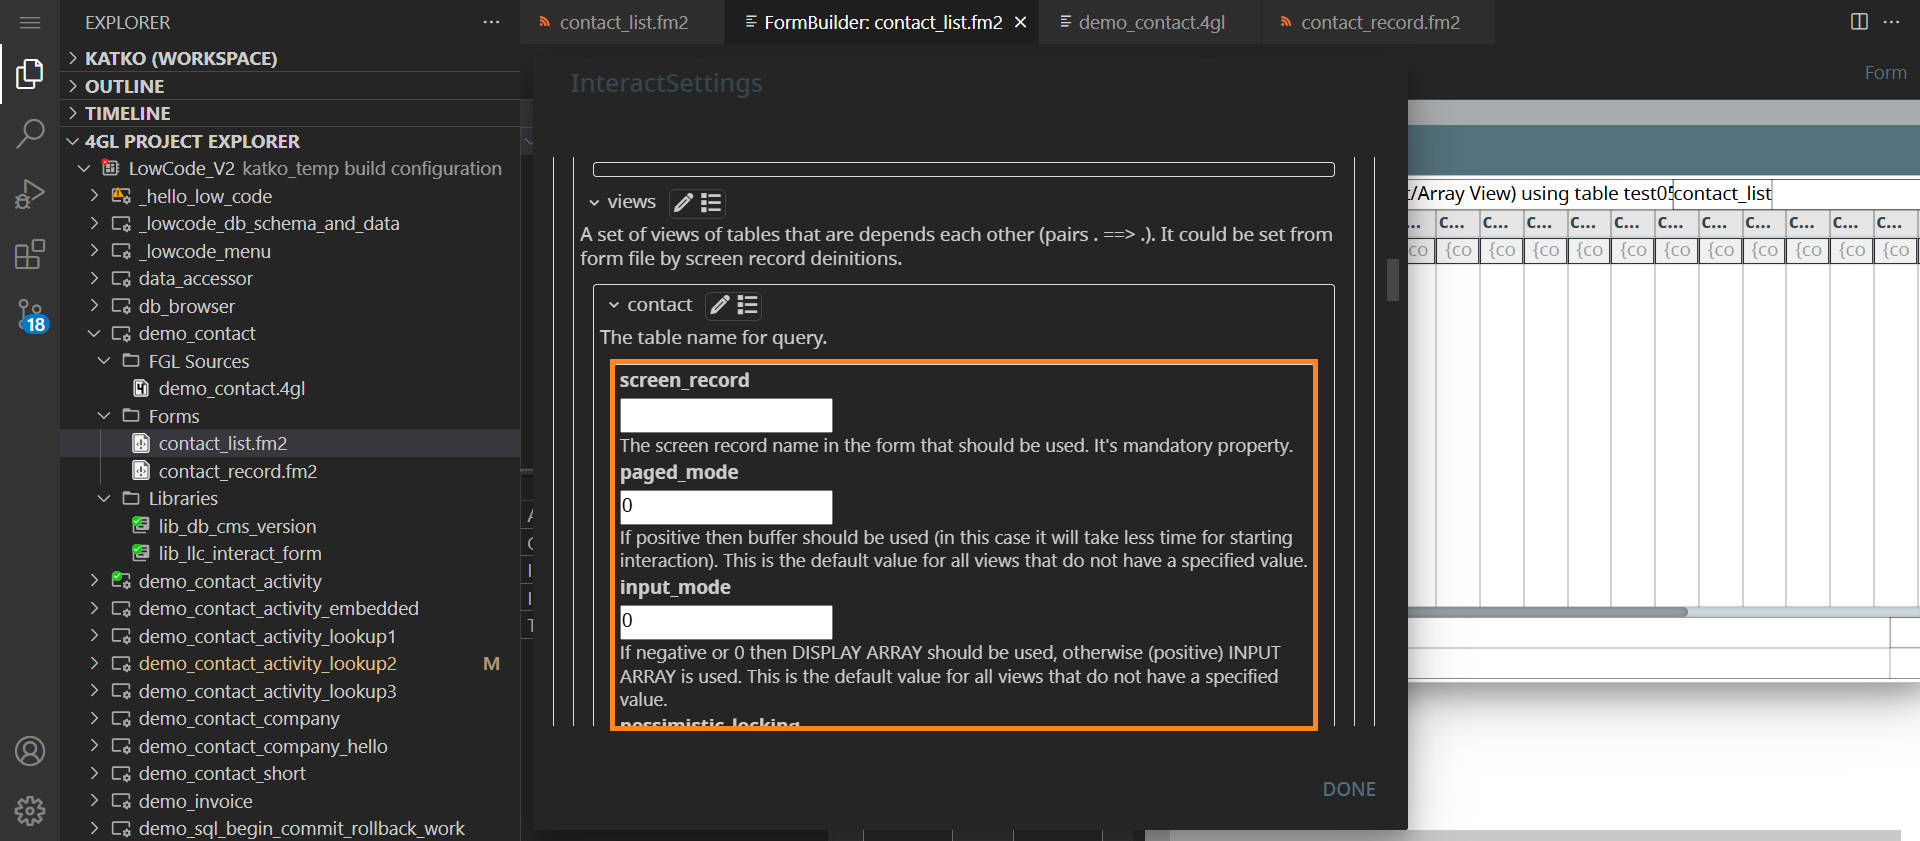
A new set of options for the View settings will open:
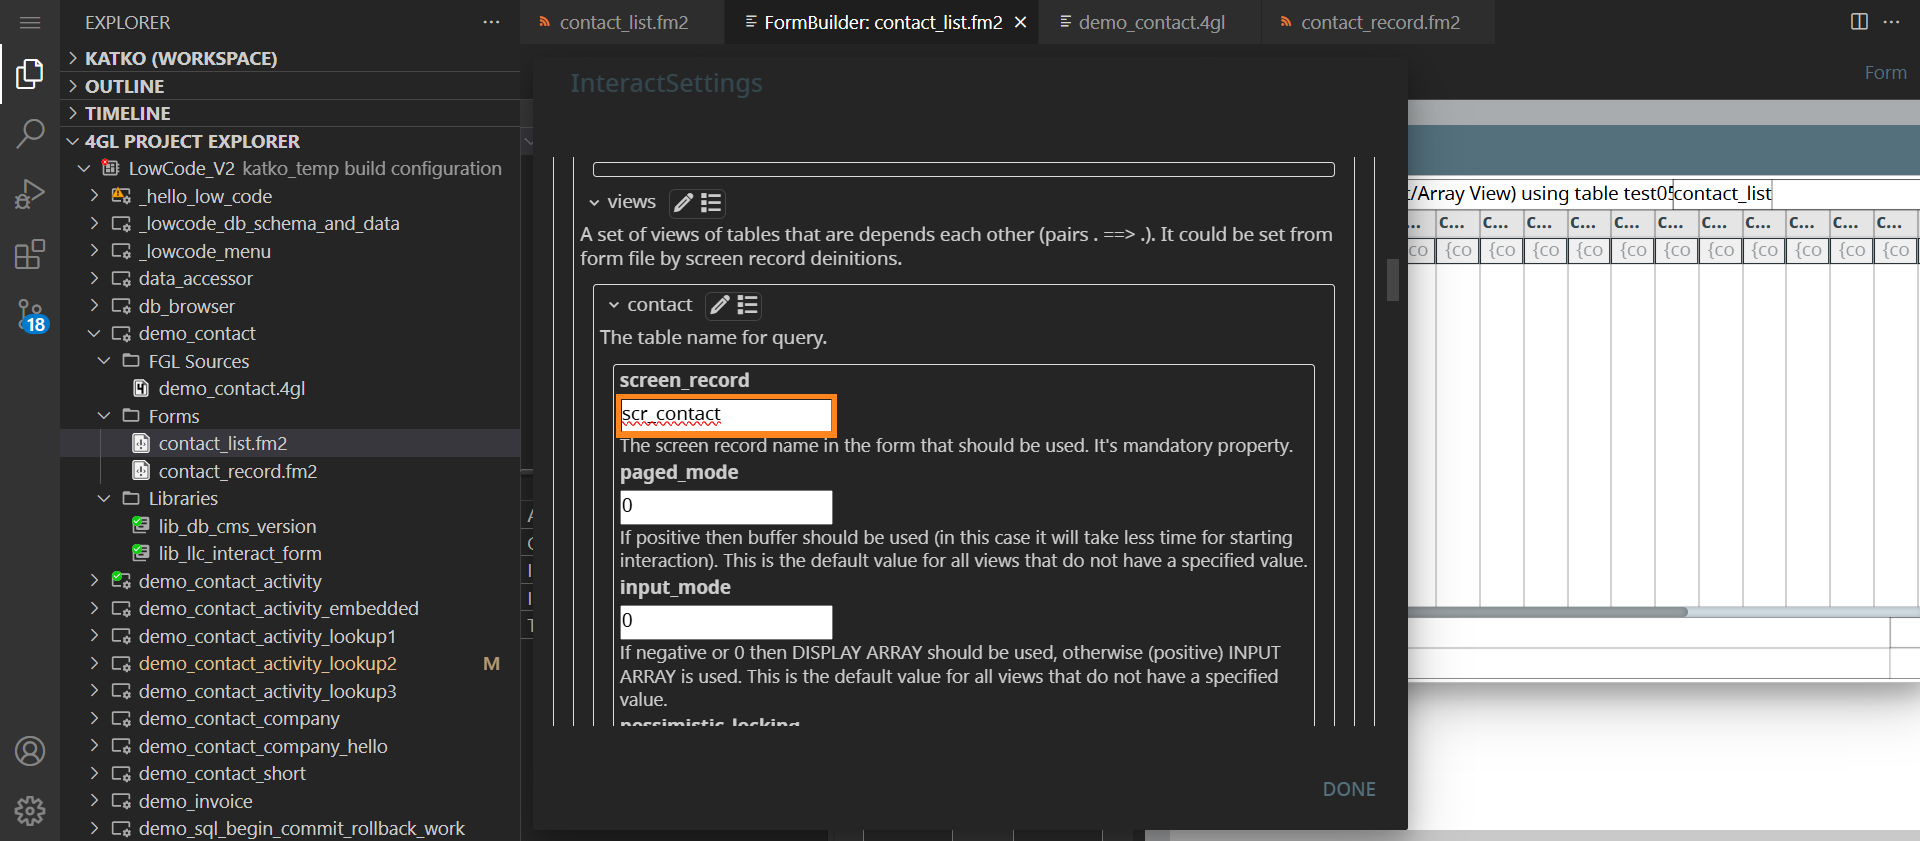
Fill in the screen_record setting with the screen record name:
Specify the mandatory sql_top setting (the SQL SELECT TOP statement, to limit the number of rows returned):
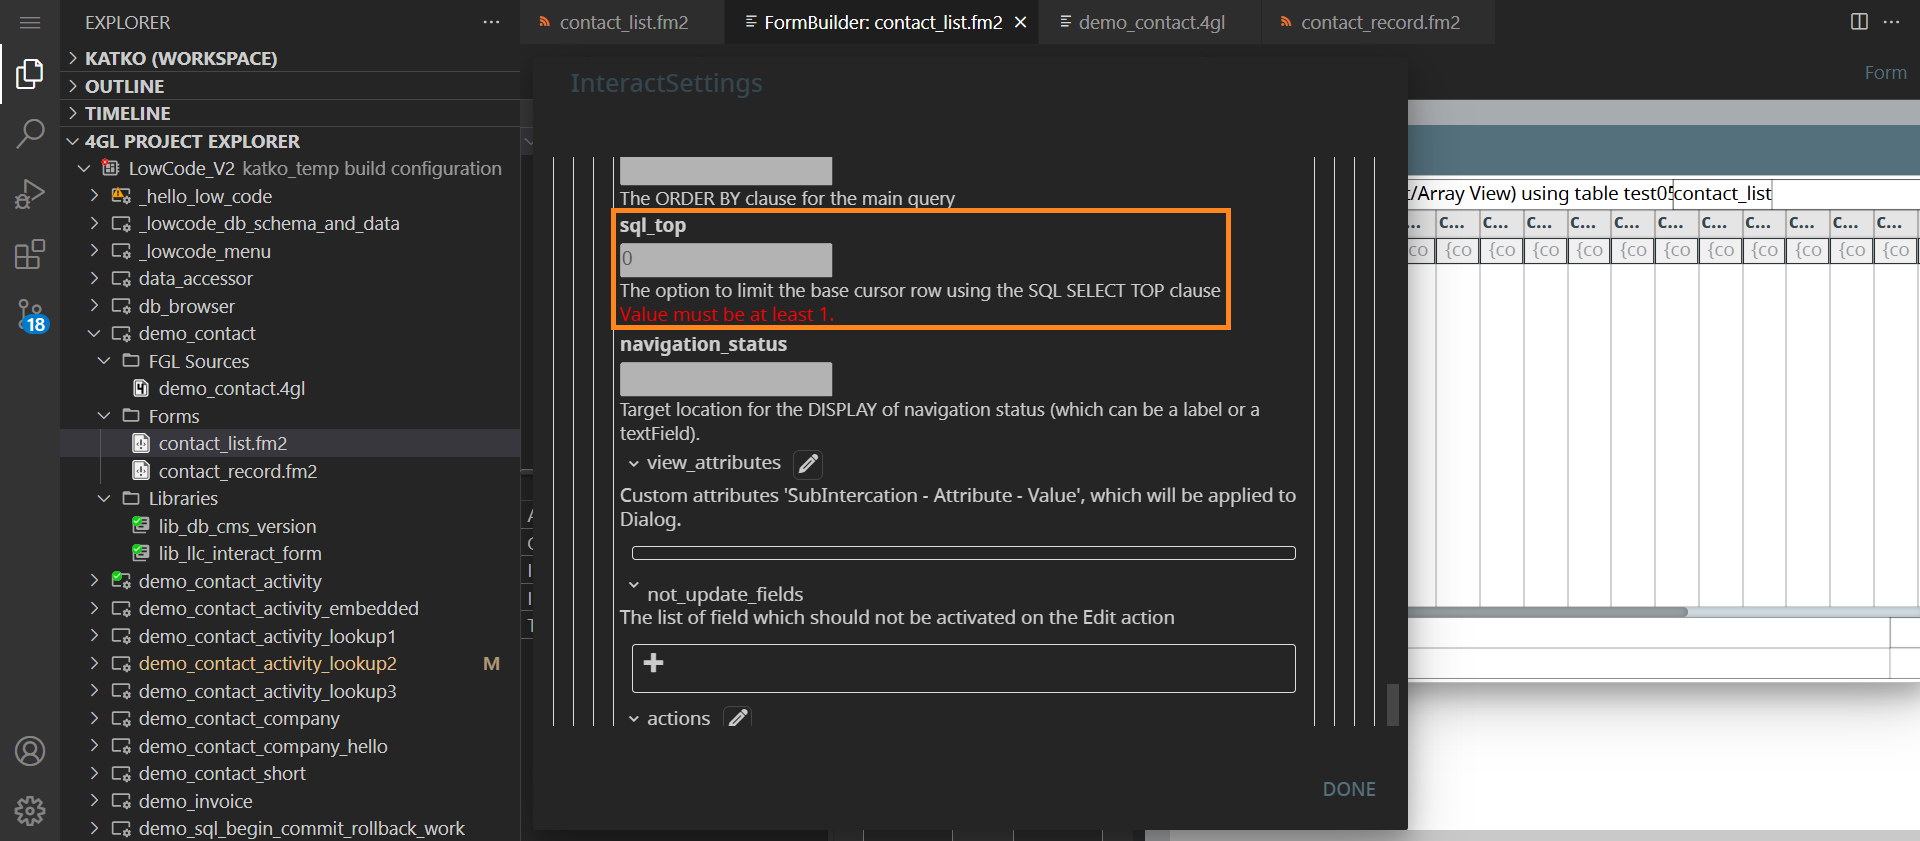
Click the Done button when finished.
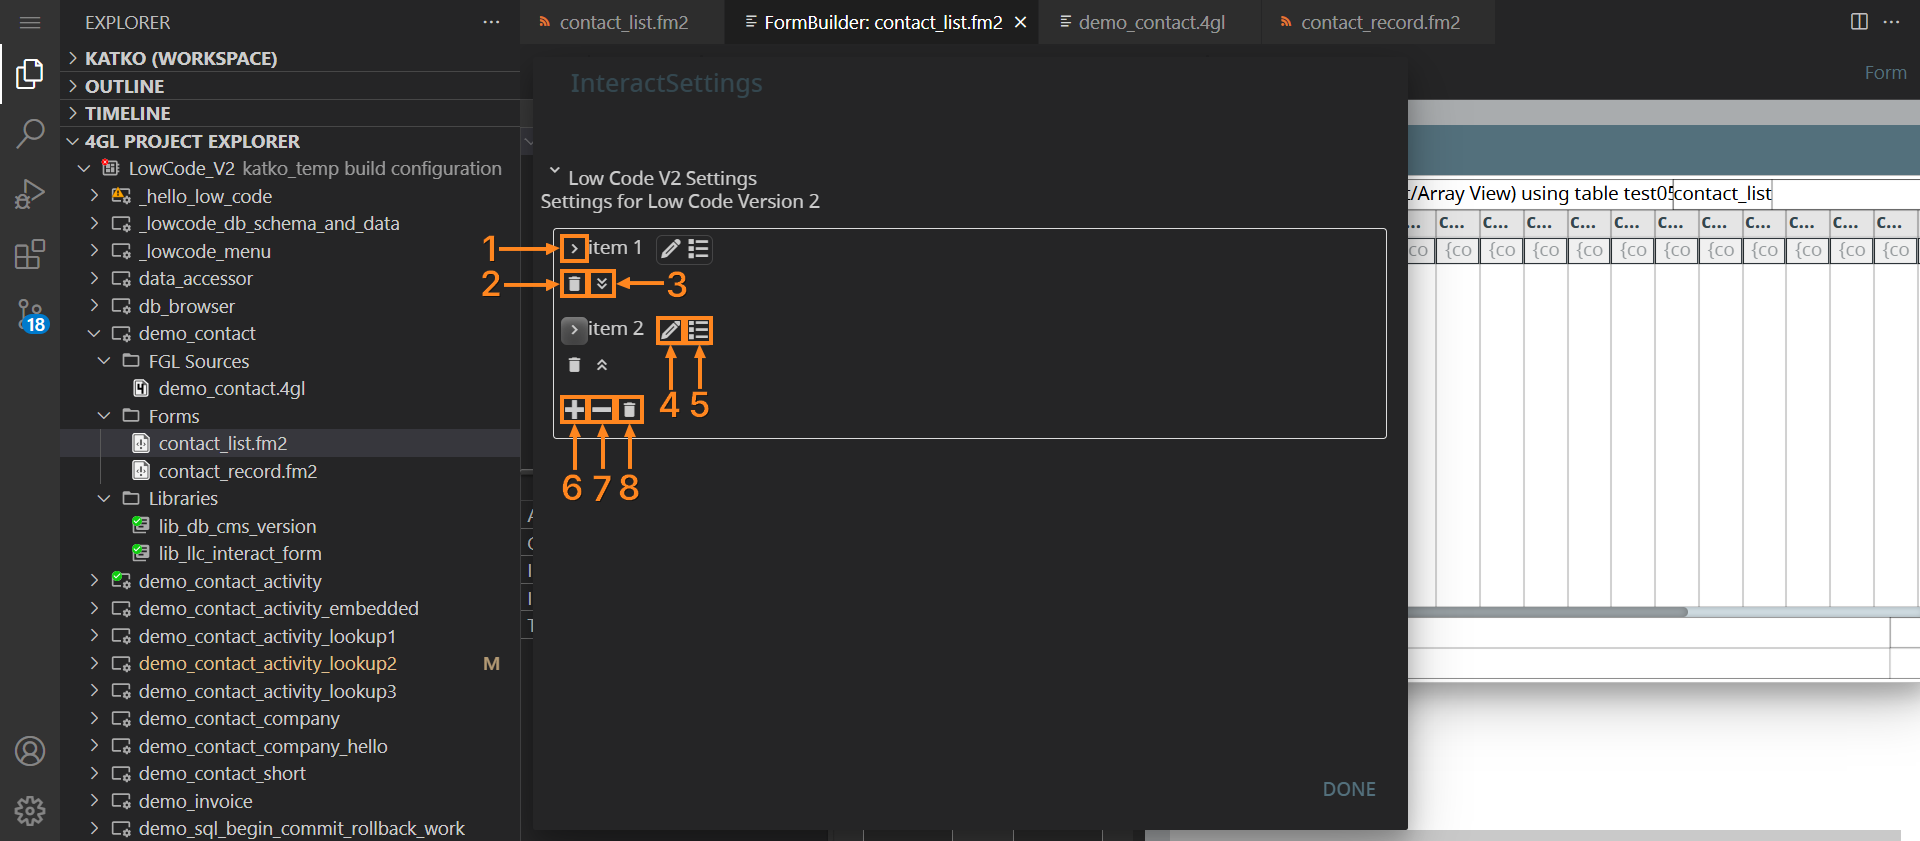
The Editor provides the following actions:
1. Wrapping setting lists;
2. Removing a specific View;
3. Changing the order of the Views;
4. Manual editing of the JSON array;
5. Selecting / deselecting the child items;
6. Adding more Views;
7. Removing the last View in the list of Views;
8. Removing your preferences and restoring the settings to defaults: