Creating data sources
BIRT Data Source is an report element that allows connecting to the underlying data source - database or any other data provider.
You can create as many data sources as you need.
Every BIRT report file must have a data source - you simply cannot create a report without one.
Data sources can be created manually (as we describe here) or imported into your project.
To create a data source, please follow these steps.
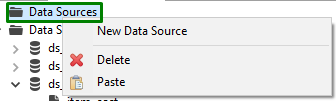
which brings up New Data Source wizard:
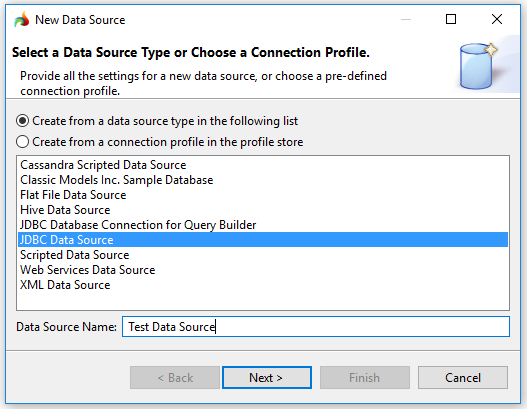

There are two ways to create a data source, and further steps depend on the selected option.
You can see it in the Data Explorer view:
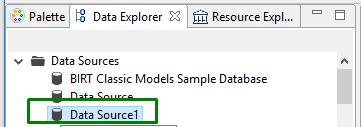

Data sets given in the screenshots were created one from the data source type ↓ (top) and one from a connection profile ↓ (bottom).
Creating data source from a data source type
When you select Create from a data source type in Step 2, you get the New JDBC Data Source Profile window:

To create a data source from a data source type, you must fill in this form (is described below in a step-by-step fashion).
You can type it in or select one from the drop-down list:


Refer here to find out how to specify JDBC driver URL (below, you get the generalized example of specifying the Informix URL):
jdbc:informix-sqli://<HOST>:<PORT>/<DATABASE_NAME>: informixserver=<IBM Informix instance name>;user=<user_name>; password=<password>
Step 3. Enter the user name and password to access the database.
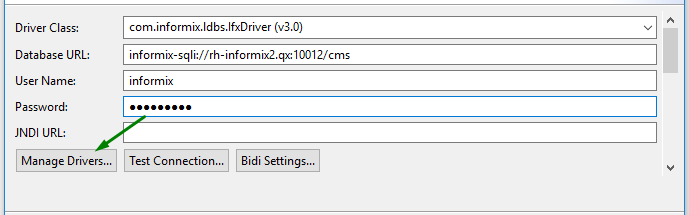


New JDBC Data Source Profile window has 3 buttons:

opens the Manage JDBC Drivers window where you can add, restore, and remove JAR files from the list and edit the drivers:


tests the database connection and tells the user whether it exits or nor:


opens the Advanced Bidi Data Source Settings window where you specify metadata and set content bidi formats:

Creating data source from a connection profile
When you select Create from a connection profile in Step 2, it starts the Create a Connection Profile Store dialog:

To create a data source from a connection profile, you must go through all the steps of the Create a Connection Profile Store wizard.

It brings up this dialog box:


You can type in the file name or browse it in the project:

It is already filled in with data and ready to use:

All the fields here are already filled in, so you don't have to do it manually:

This video offers a short overview of how to add a data source:
