Cloning a GIT repository
GIT repositories can be created by cloning the remote ones.
To clone a GIT repository, please follow these steps.
Step 0. Copy the URL to the remote repository you want to clone.
Step 1. Open the GIT perspective as described here.
 Clone a GIT repository in the
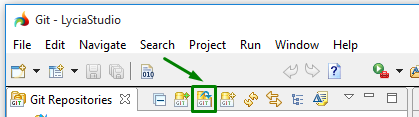
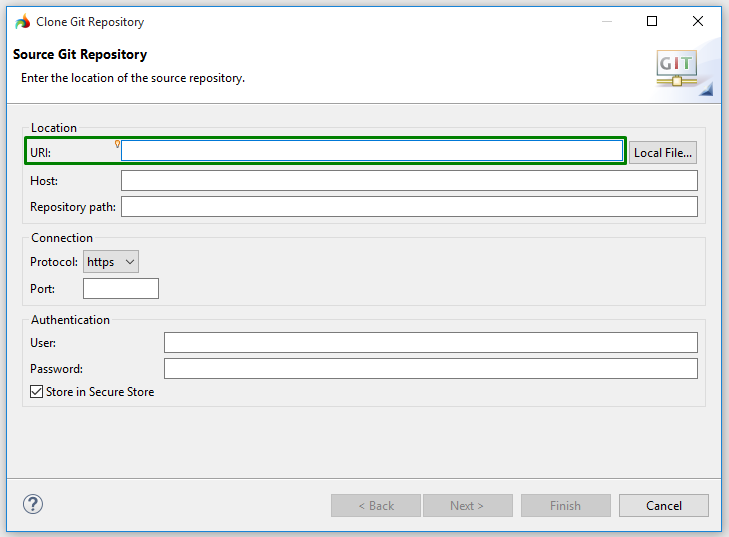
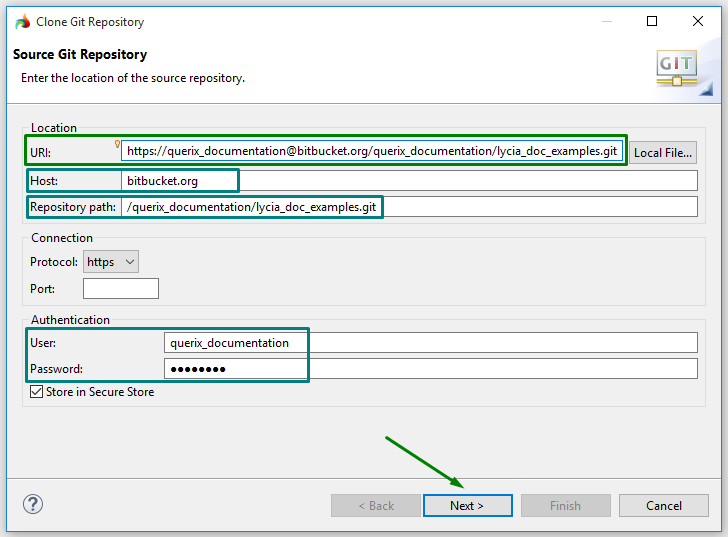
In the Source GIT Repository dialog,
- URI gets the complete URL of the remote repository or the path on a local system,
- Host gets the name of the remote host (and remains empty is you clone from the file system),
- Repository path gets the path to the remote repository or on the file system,
- Protocol specifies the protocol to be used,
- Port number specifies the number of the port to be used,
- User and Password hold the user name and password used for authentication.
These protocols are supported
- file stands for the file system access to the repository,
- ftp is File Transfer Protocol,
- git is a built-in git protocol (default port 9418); this protocol doesn't provide authentication and is typically used for anonymous read access to the repository,
- http is Hypertext Transfer Protocol that can be tunneled through fire walls,
- https is Hypertext Transfer Protocol Secure that can be tunneled through firewalls,
- sftp is SSH File Transfer Protocol, and
- ssh is a Git secure shell (SSH) protocol typically used for authenticated write access to the repository.
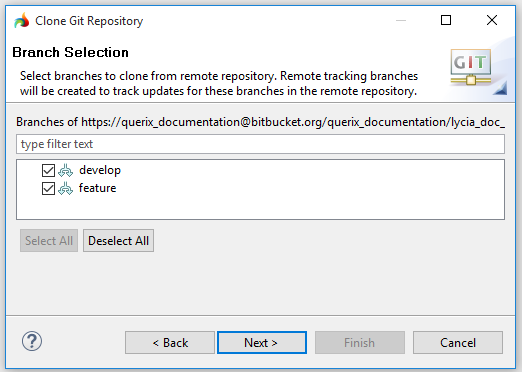
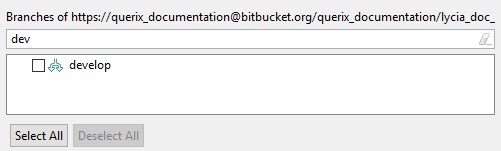
You can filter the branches by typing their name:

Configuring the storage locations of the cloned repository
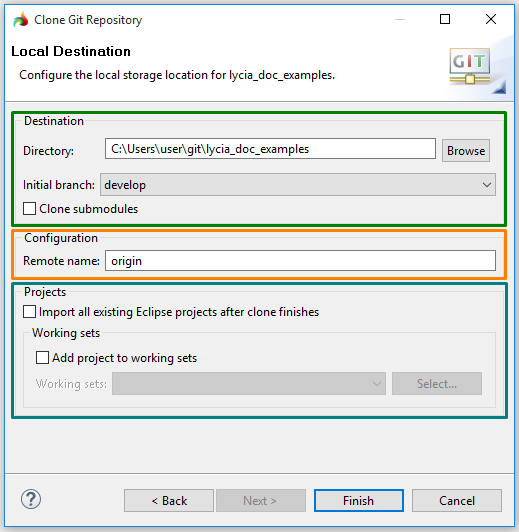
At Step 6, you have to configure the storage location of the cloned repository:
Specifying storage location
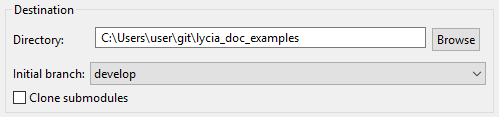
Directory here is the folder which will hold the GIT repository. You can choose any folder which suits your development needs. If there is no folder with the specified name on your local system, the wizard will create it.
You can specify the necessary directory by direct typing or browsing.
Initial branch is the local branch which is initially checked out.
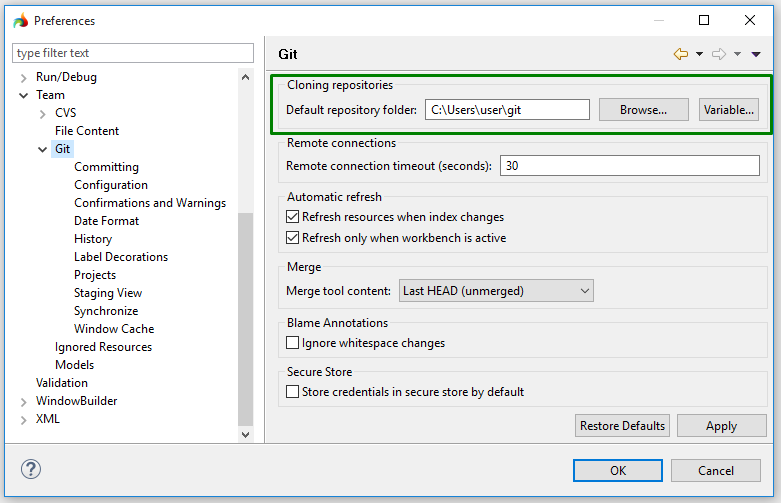
Window → Preferences → Team → GIT
If you check Clone submodules when cloning a remote repository, you allow the Clone wizard to clone all the submodules of the clone repository.
Submodules are repositories which are nested inside a parent repository. If you leave Clone submodules unchecked when cloning, you won't have access to all the files and folders of the parent repository's working directory.
Specifying remote name

Remote name specifies the alias on your system for a particular remote repository.
By default, it is origin. However, you can use other names (e.g. when you work with different remote repositories).
Organizing projects
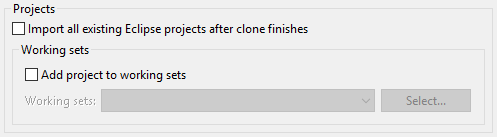
In Projects, you can tell the Clone wizard whether and where the existing projects must be imported after the remote repository is cloned.
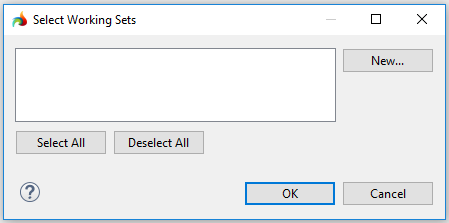
When adding the imported projects to a working set, you can select the necessary set among the available one from the drop-down list or in the Select Working Sets dialog:

The Select Working Sets dialog can be also used to create a new working set: