To install Lycia on Unix/Linux, you must run the installation as a root user. We also recommended that 4gl developers create a user and a group called querix or informix which will act as the owner for the Querix installation.
Technically, you can install Lycia 3 to any place in your computer which you consider necessary and convenient. However, we strongly recommend you to follow default installation paths because we shall refer to them in this documentation. If you nevertheless decided to choose another installation directory, please, avoid using special symbols like @, %, #, <, >, ", !, [space] when creating folders: Otherwise, Lycia Studio will fail to start.
Prior to installing Lycia 3, you have to choose which development tasks you are going to fulfill. We provide our users with three installation variants – Full (recommended), Production, Custom. For greater detail, please, refer to Installing Lycia 3 for Windows.
To install Lycia 3 software package, please, follow the steps below.
![]() The installation procedure (namely, the steps to follow) depends on the chosen installation option.
The installation procedure (namely, the steps to follow) depends on the chosen installation option.
Below you get the full installation. With other installation options, some steps are omitted.
![]() You must run the installation as root user to ensure that Lycia is installed properly.
You must run the installation as root user to ensure that Lycia is installed properly.
|
Step 1 |
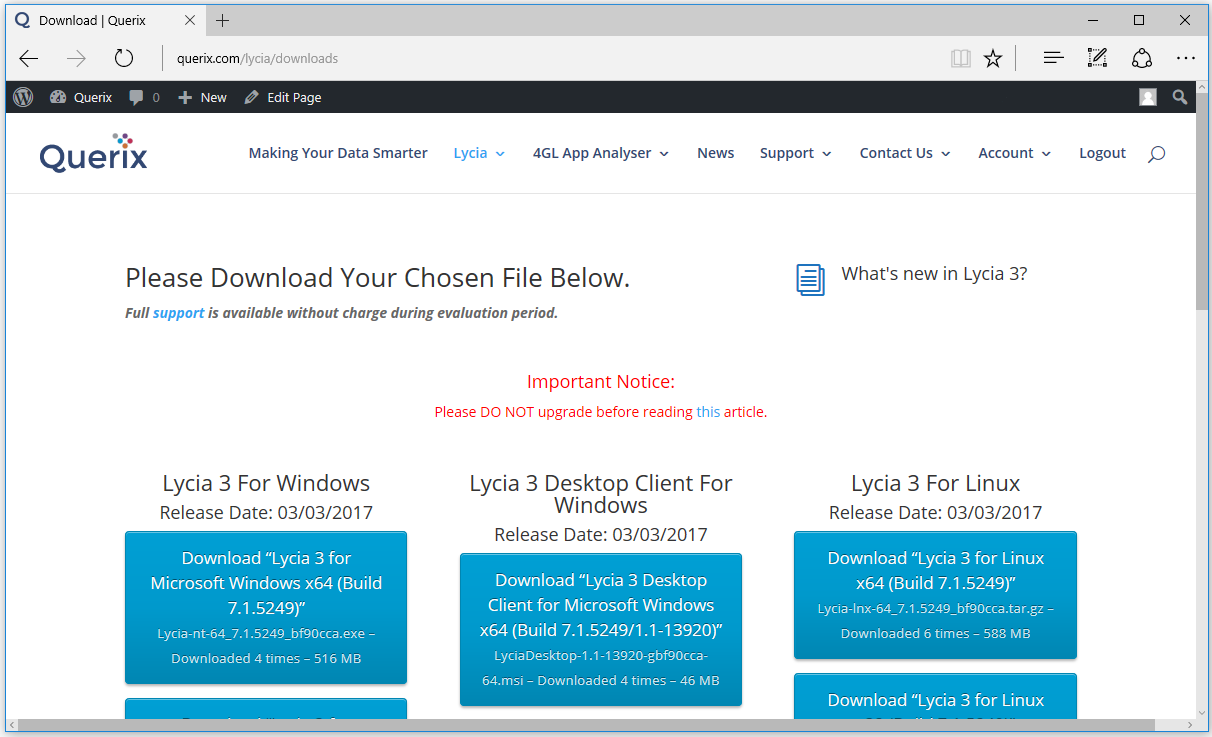
Download the necessary installation package from querix.com:
|
|
Step 2 |
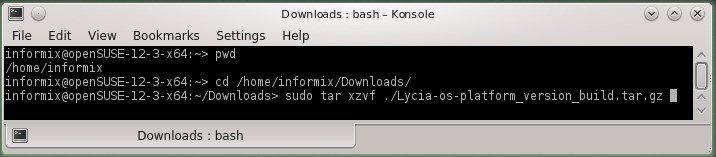
Unzip the installation file: sudo tar xzvf ./Lycia-<os>-<platform>_<version>_<build>.tar.gz
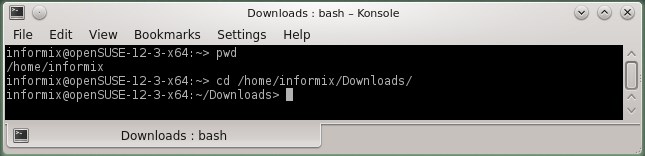
To use relative pathname, you need to move to the directory which contains the installation package. You can check the current directory by the command pwd and change directory by the command cd /Lycia_install_package_directory:
|
|
Step 3 |
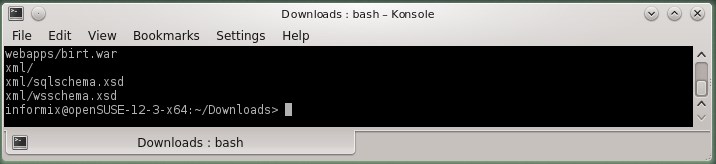
Wait until the unzipping is over:
|
|
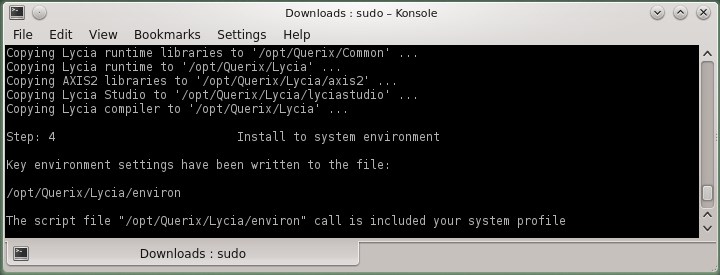
Step 4
|
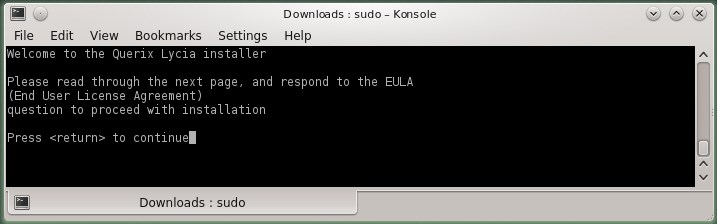
Run the installation script as root user: ./install.sh
|
|
Step 5 |
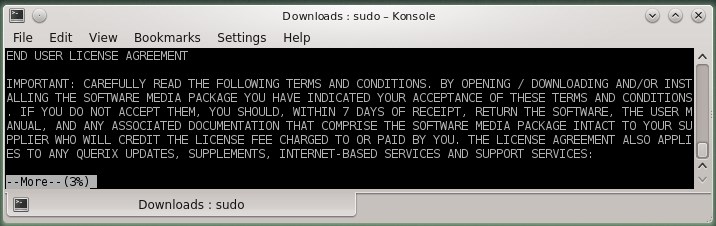
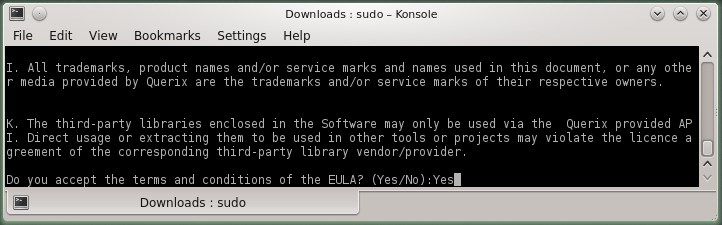
Read and accept End User License Agreement:
|
|
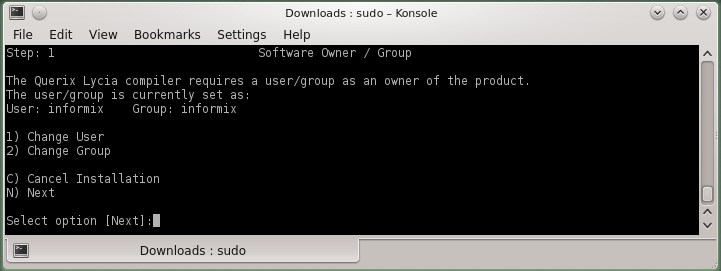
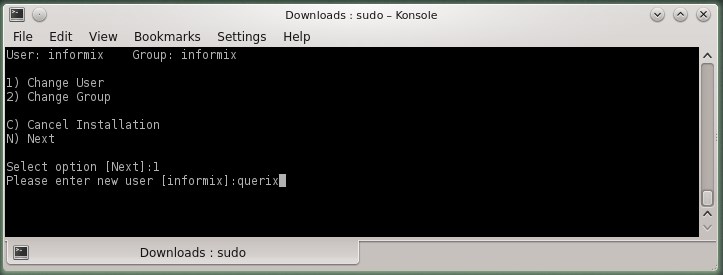
Step 6 |
Choose the owner user and group:
As was written above, we recommend 4gl developers to create a user and a group called querix or informix for any Lycia-related purposes. However, if required, you can choose any other user and/or group. By default, Lycia 3 installer suggests the user and group with which you have logged-in the system, but they can be changed easily during the installation:
|
|
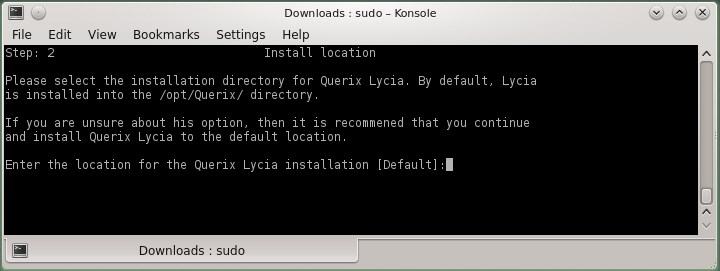
Step 7 |
Choose where to install Lycia 3 components:
By default, the Lycia 3 software package is installed to /opt/Querix/. |
|
Step 8 |
Select the database driver:
The default database driver is Informix. |
|
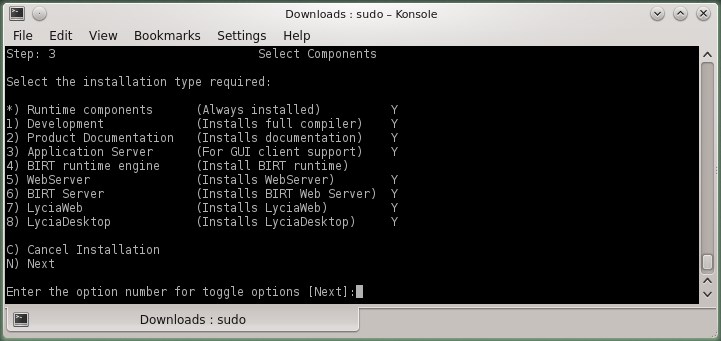
Step 9
|
Choose the components of Lycia 3 software package you want to install (full installation is recommended):
|
|
Step 10 |
Wait until the installation proceeds to installing Lycia Application Server:
|
|
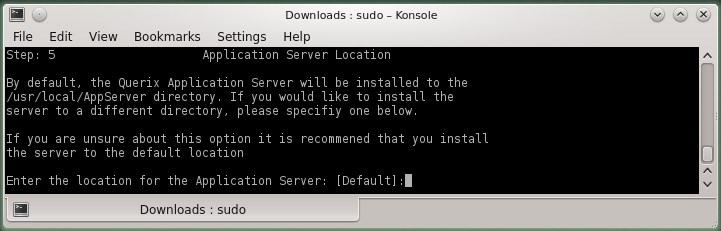
Step 11 |
Choose where to install Lycia Application Server:
By default, the Lycia 3 software package is installed to /usr/local/AppServer/.
|
|
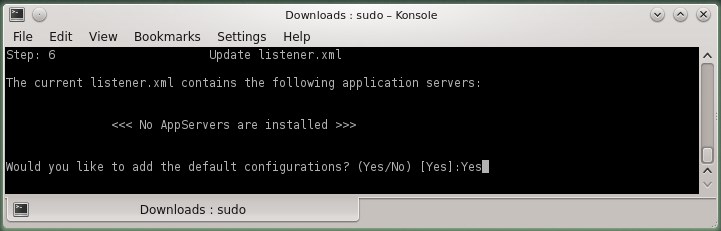
Step 12 |
Accept creation of the default application server instances:
|
|
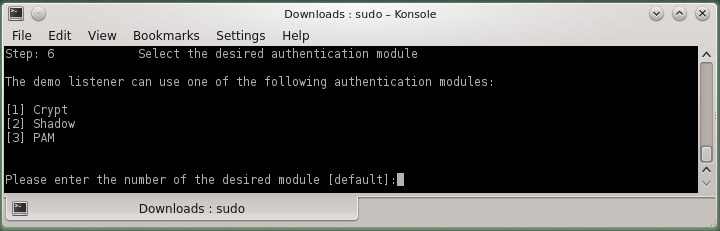
Step 13 |
Select the desired authentication module - crypt, shadow, or pam (pam service needs further configuration):
|
|
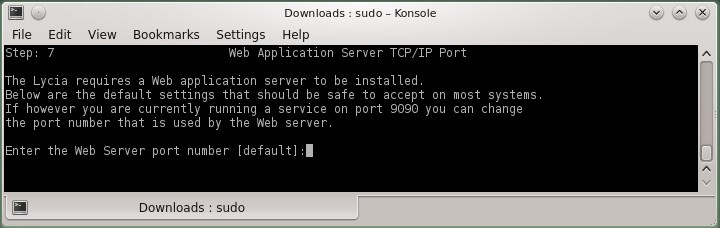
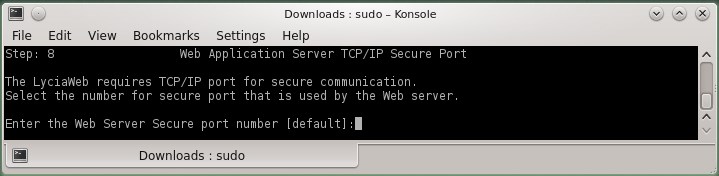
Step 14
|
Configure Lycia Web Server by selecting service and secure port numbers:
|
|
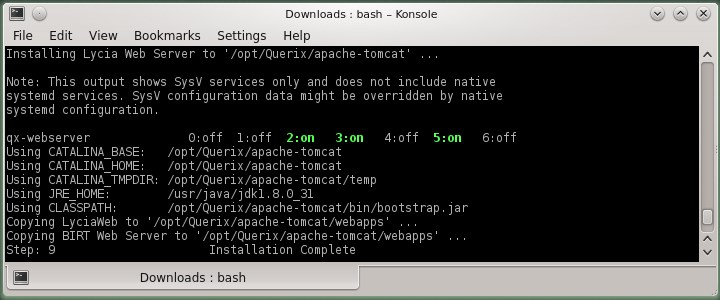
Step 15 |
Wait until the Lycia 3 software package is complete:
|
|
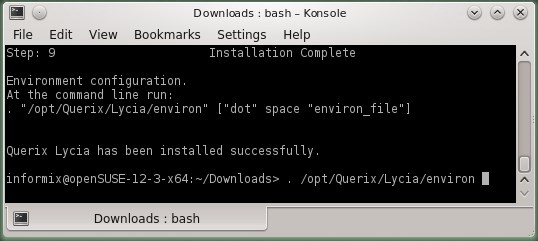
Step 16 |
Now Lycia 3 software package is successfully installed, and you can start working with it. Before setting down to work, source environ: . /opt/Querix/Lycia/environ
|
Related articles:
Application server instances
Lycia Web API