![]() Lycia 3 software package can be installed only with the administrator permission. Before installing, please, check whether you run installation files as the administrator or ask your system administrator to do the installation.
Lycia 3 software package can be installed only with the administrator permission. Before installing, please, check whether you run installation files as the administrator or ask your system administrator to do the installation.
This concerns both users logged in as Administrator or with administrative rights.
Technically, you can install Lycia 3 to any place in your computer which you consider necessary and convenient. However, we strongly recommend you to follow default installation paths because we shall refer to them in this documentation. If you nevertheless decided to choose another installation directory, please, avoid using special symbols like @, %, #, <, >, ", ! when creating folders: Otherwise, LyciaStudio will fail to start.
Prior to installing Lycia 3, you have to consider what tasks you are going to fulfill in order to choose the most appropriate installation variant.
|
Full (recommended) |
|
All the components are installed which enables 4gl developers to use the whole potential of Lycia 3 development toolkit. |
|
Production |
|
Includes Lycia Web Server and Lycia Application Server components as well as Runtime components necessary for deploying and running. LyciaWeb client is installed together with Lycia Web Server. |
|
Custom |
|
4gl developer can choose any combination of the Lycia 3 components to be installed in order to secure the necessary functionality. Runtime is the only obligatory component. Lycia Web Server Installer becomes obligatory if the developer needs checking the runtime behavior of 4gl applications. |
MinGW Linker can be excluded if the 4gl developer will use the Microsoft Visual Studio linker for creating object cache.
BIRT can be excluded by the customers who have no need in a platform for creating fully-fledged interactive business reports.
To install Lycia 3 software package, please, follow the steps below.
![]() The installation procedure (namely, the steps to follow) depends on the chosen installation option.
The installation procedure (namely, the steps to follow) depends on the chosen installation option.
Below you get the full installation. With other installation options, some steps are omitted.
|
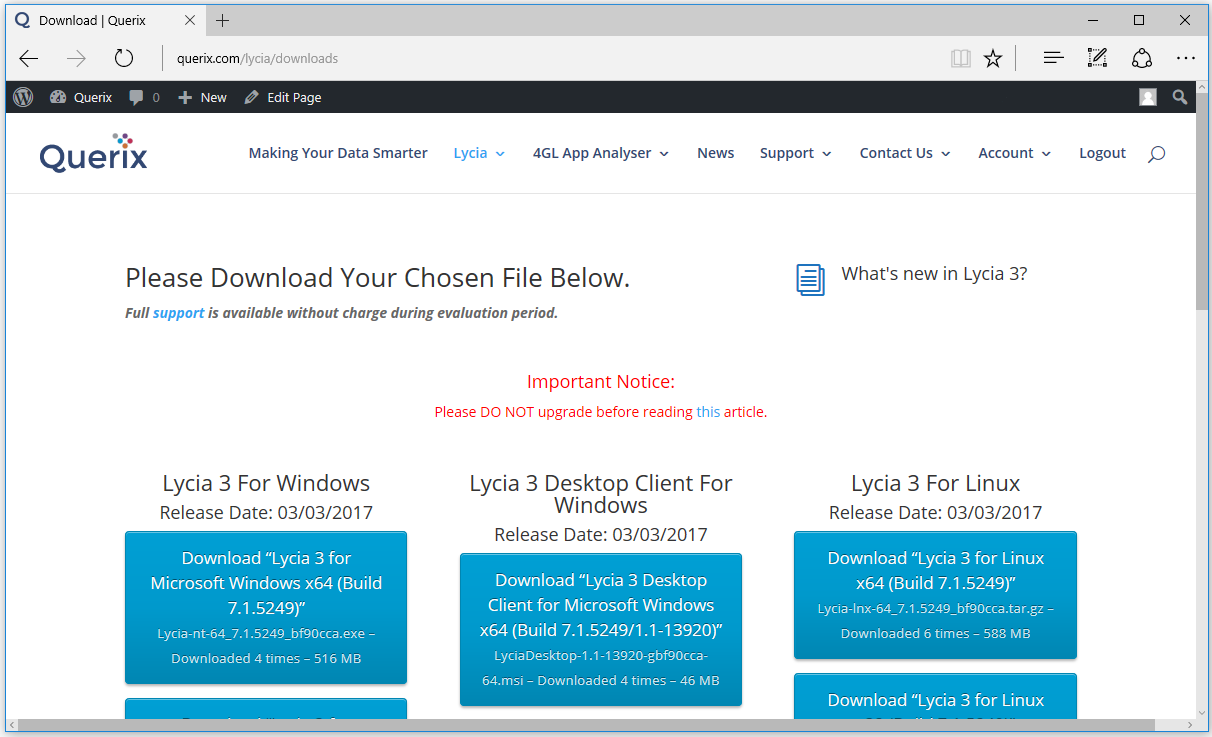
Step 1 |
Download the necessary installation package from querix.com:
|
|
|
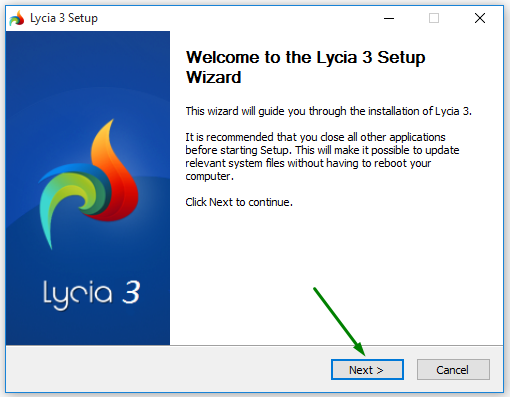
Step 2 |
Run the installation file as the administrator to start the Lycia 3 Setup Wizard:
|
|
|
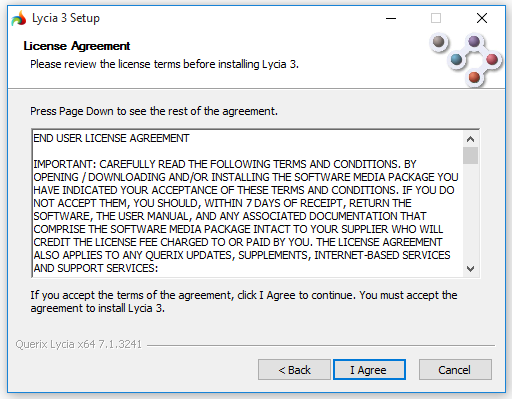
Step 3 |
Read and accept End User License Agreement:
|
|
|
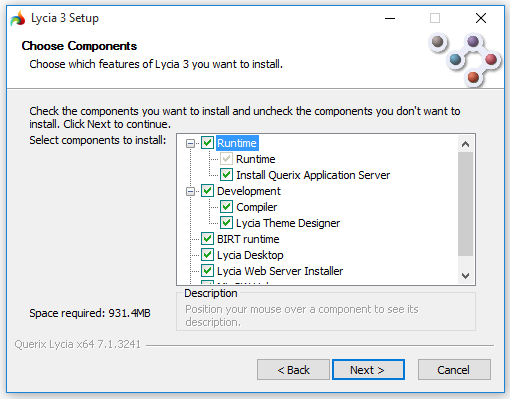
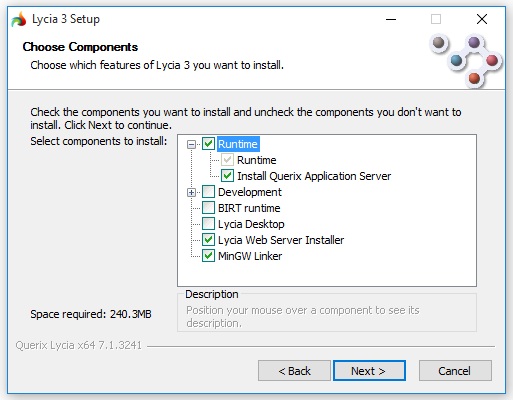
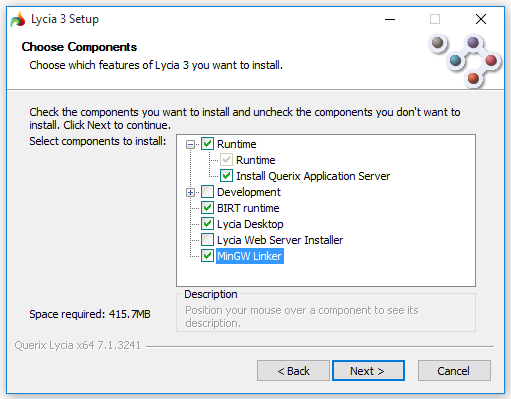
Step 4 |
Choose the components of Lycia 3 software package you want to install (full installation is recommended):
|
|
|
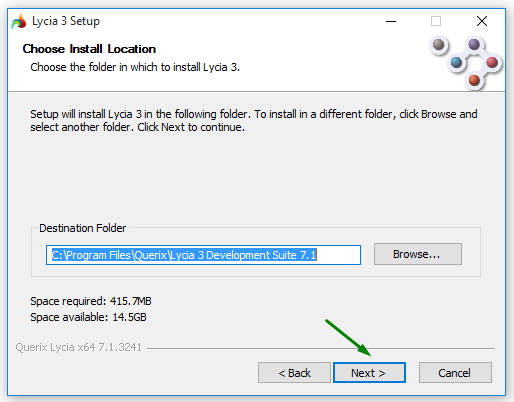
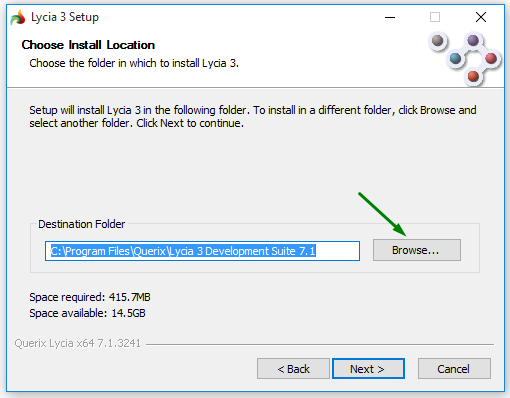
Step 5 |
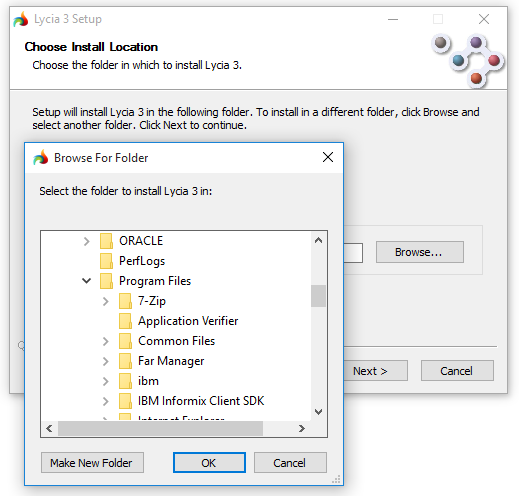
Choose where to install Lycia 3 components:
|
|
|
to the default installation directory:
|
to the custom installation directory:
|
|
|
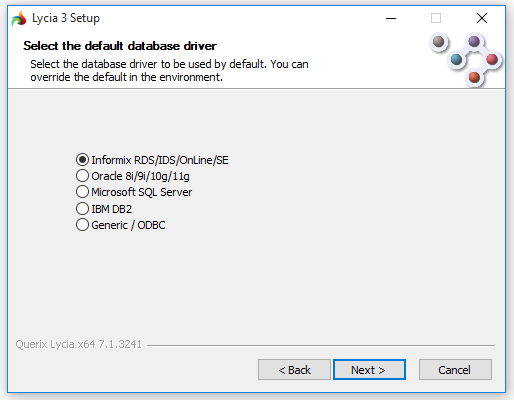
Step 6 |
Select the default database driver:
Refer here and here to learn more about the default database driver and how to change it when Lycia is already installed.
|
|
|
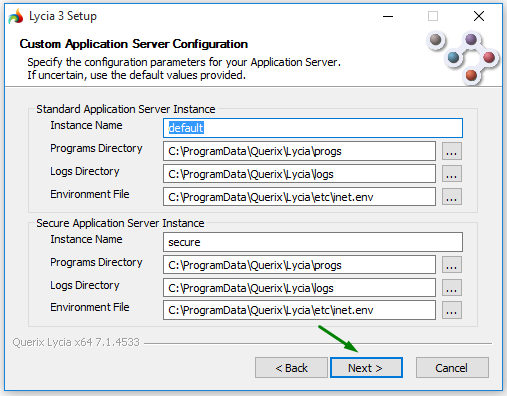
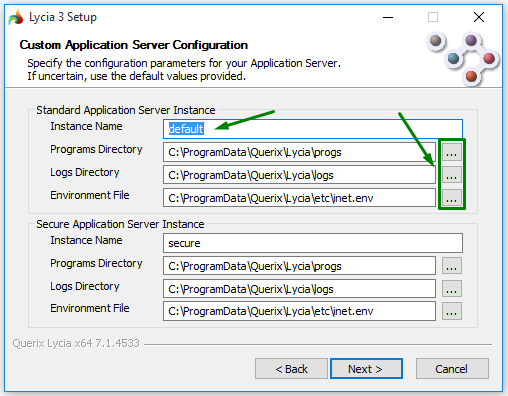
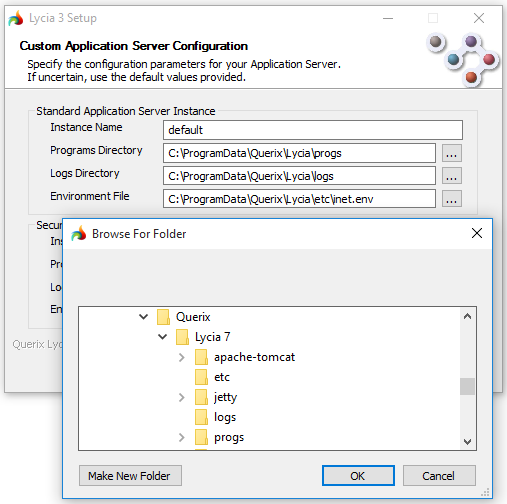
Step 7 |
Select the default GUI Server instances (port numbers are typed in directly, and other values are chosen):
Default configuration parameters include default as the port number for the standard application server instance and secure as the port number for the secure application server instance. However, if required, any custom values may be assigned to these configuration parameters including port numbers, programs and logs directories, and environment file.
|
|
|
|
|
|
|
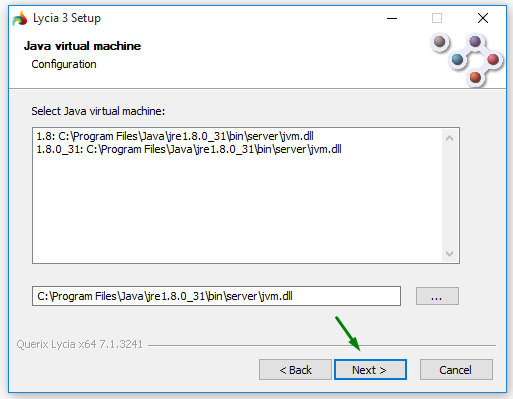
Step 8 |
Select the Java virtual machine (you need a Java machine of the same bitness as the Lycia 3 software package):
|
|
|
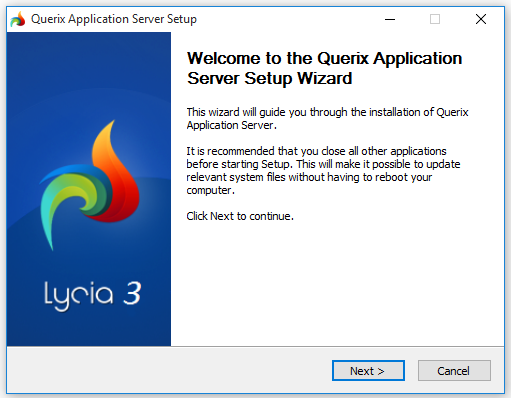
Step 9 |
Click Next and wait until the Lycia Application Server Setup Wizard starts:
|
|
|
Step 10 |
Read and accept End User License Agreement:
|
|
|
Step 11 |
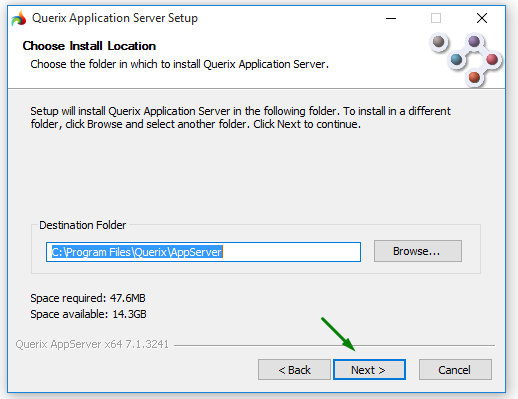
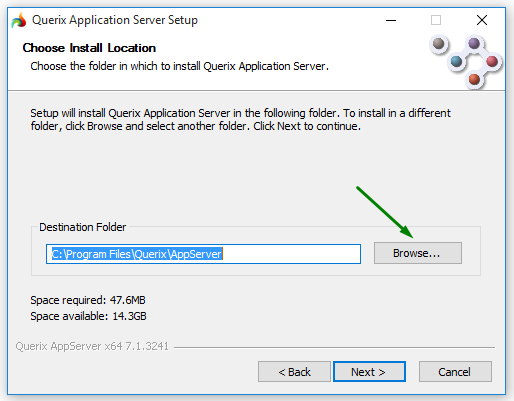
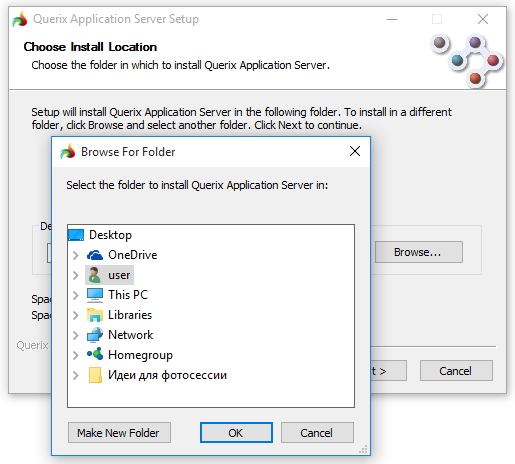
Choose where to install Lycia Application Server:
|
|
|
to the default installation directory:
|
to the custom installation directory:
|
|
|
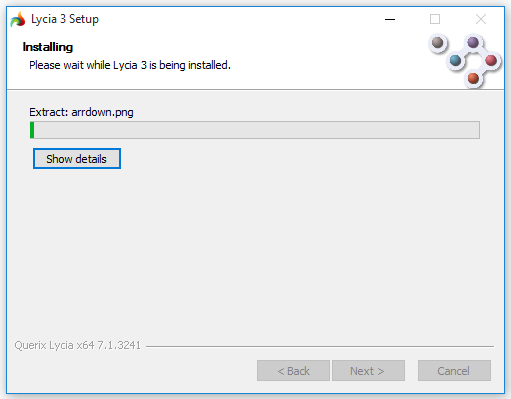
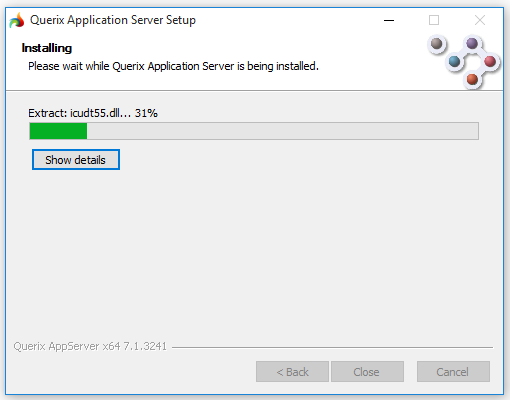
Step 12 |
Wait until the installation is complete:
|
|
|
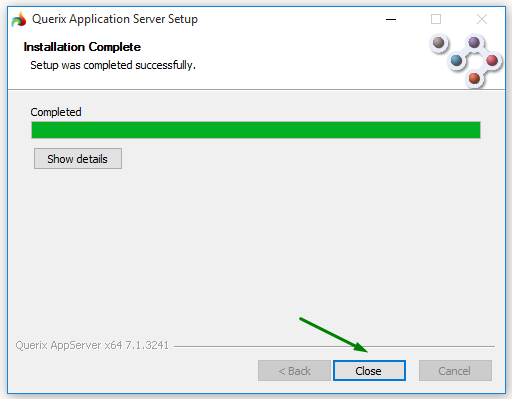
Step 13 |
Wait until the Applications Server is installed and Lycia Web Server Setup Wizard starts:
|
|
|
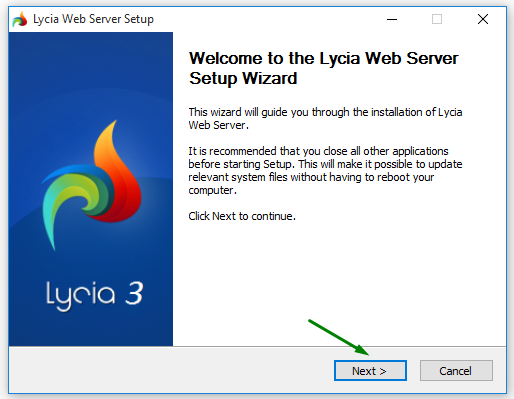
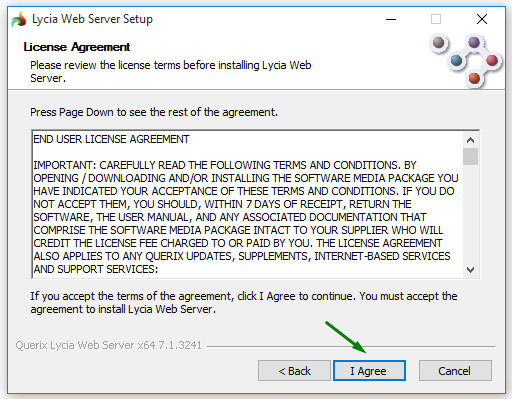
Step 14 |
Read and accept End User License Agreement:
|
|
|
Step 15 |
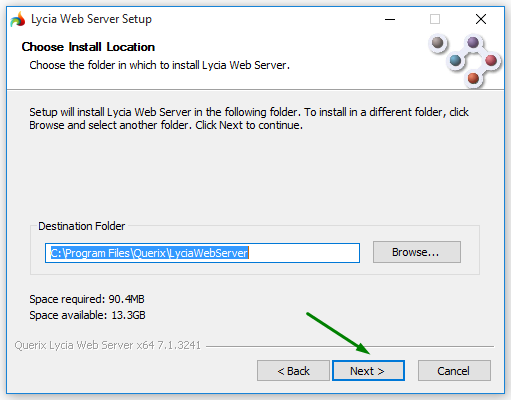
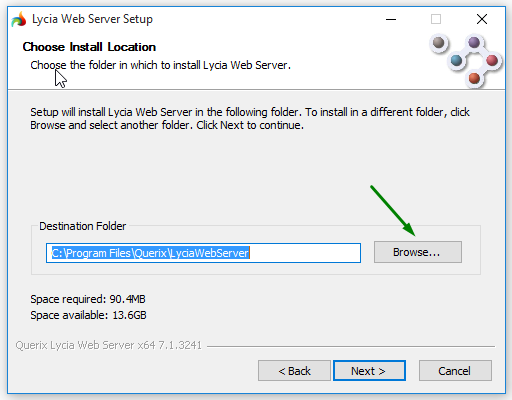
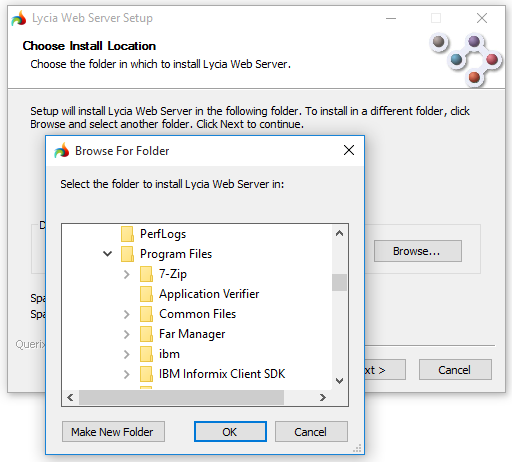
Choose where to install Lycia Web Server:
|
|
|
to the default installation directory:
|
to the custom installation directory:
|
|
|
Step 16 |
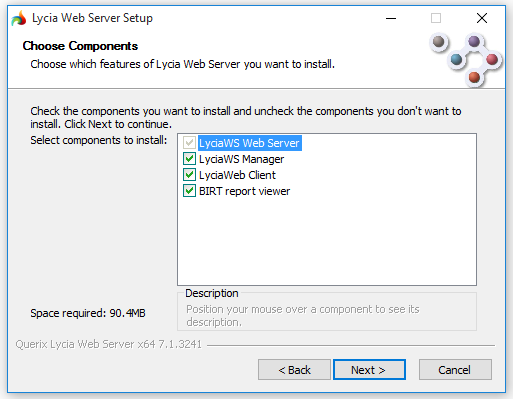
Choose the components of Lycia Web Server you want to install (full installation is recommended):
Lycia Web Server installation suite includes 2 obligatory component and 2 supplementary ones:
|
|
|
Step 17 |
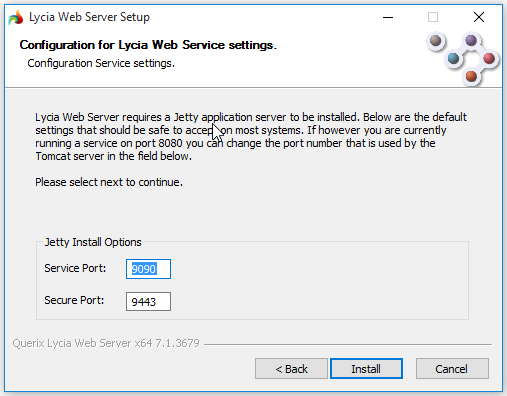
Select ports to install Lycia Web Server:
Default install options include 9090 as the number for the service port and 9443 as the number for the secure port. However, if required, any custom values may be assigned to port numbers (by direct typing).
|
|
|
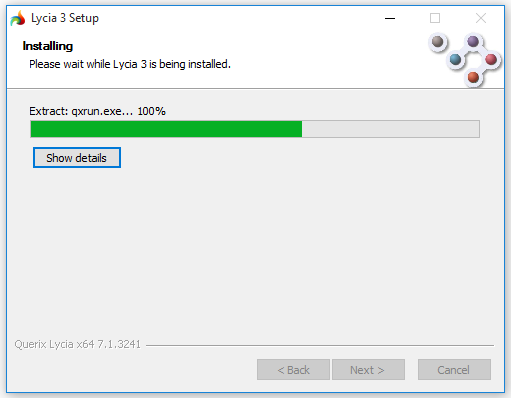
Step 18 |
Wait until the installation is complete:
|
|
Now Lycia 3 software package is installed, and you can use for developing 4gl programs and running applications.
Related articles:
Graphical clients: LyciaDesktop, LyciaWeb, LyciaTouch