Committing to local GIT repositories
Committing changes to the project already added to the repository
Committing new projects to the repository
All the 4gl projects can be stored at both remote and local GIT repositories.
Here we deal with committing to the local repository. Here you can learn how to push changes to the remote repository.
Committing changes to the project already added to the repository
To commit your changes to the project which already exists in the local GIT repository, follow these steps.
|
Step 1
|
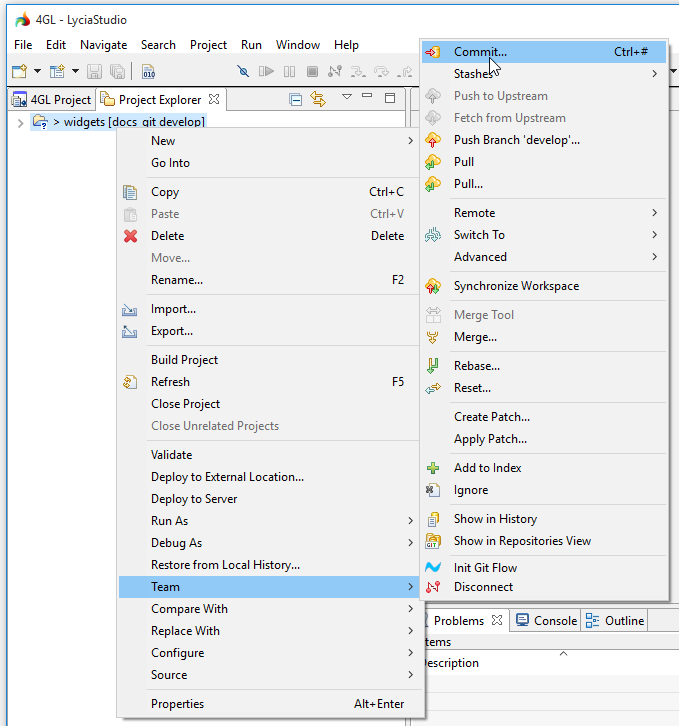
Right-click the 4gl project and go to Team → Commit:
|
|
Step 2
|
Perform the necessary actions at the Git Staging view:

The structure of the Git Staging view is described here.
|
|
|
A.
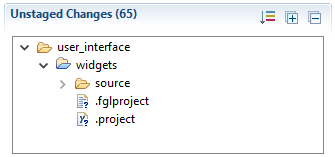
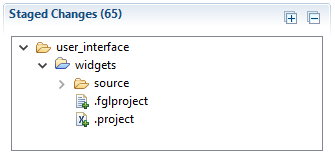
Move the files to-be-committed from Unstaged Changes to Staged Changes by dragging and dropping or via the right-click menu → :
|
|
|
|

|
|
|
|
 It is preferable not to commit output when working on the project. It is preferable not to commit output when working on the project.
Refer here to learn how to remove files from your commit.
|
|
|
B.
Add the commit message:
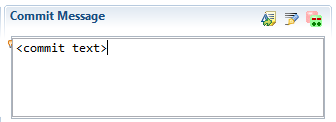
Commit messages are obligatory and cannot be omitted:

|
|
|
C.
Check the committer's name and email:

|
|
Step 3
|
Choose whether you want to Commit and push your changes or only Commit them and press the corresponding button:

|
|
Step 4
|
Now all your changes are added to the GIT repository (you can see it in the project explorer):

|
Committing new projects to the repository
To commit a new project to the local GIT repository, follow these steps.
|
Step 1
|
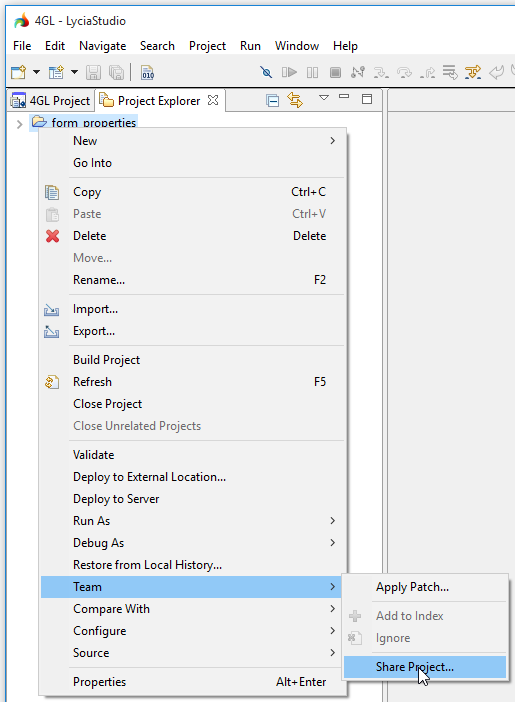
Right-click the 4gl project and go to Team → Share project:
|
|
Step 2
|
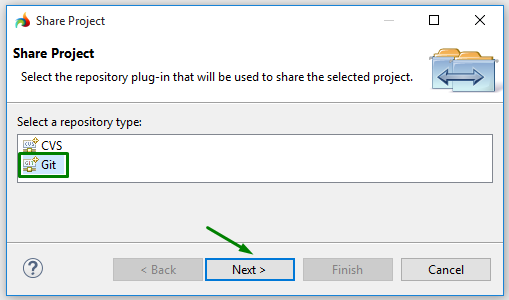
Choose Git among the available plug-ins and press Next:
|
|
Step 3
|
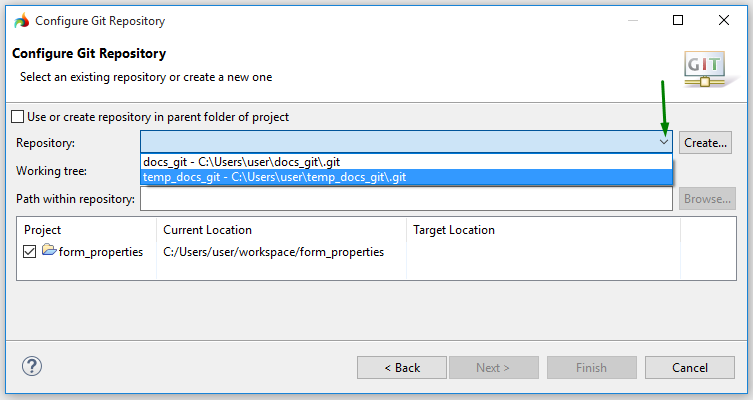
Choose one of the available repositories:
|
|
Step 4
|
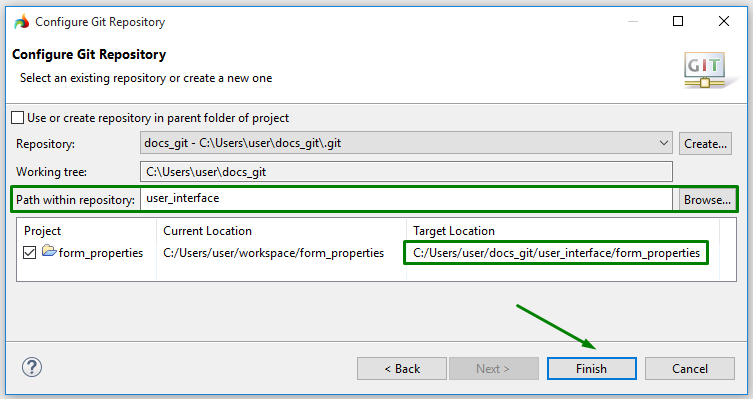
Specify the path within the repository if necessary (refer here to learn how to do it) and check whether your project has got the necessary target location:
|
|
Step 5-7
|
Follow Steps 1-3 described above.
|
|
Step 8
|
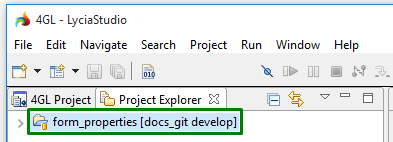
Now all your changes are added to the GIT repository (you can see it in the project explorer):
|


![]()

![]() It is preferable not to commit output when working on the project.
It is preferable not to commit output when working on the project.


