Installation, Uninstallation, Update of Lycia VS Code Extension
Installing Lycia Components for LVSCE Usage
Installing Lycia VS Code Extension
Install LVSCE From VS Code Instance
Installing Lycia Install LVSCE From .vsix File From VS Code Extension Marketplace
Install LVSCE From Open VSX Registry
Video: LVSCE Installation on Windows
Prerequisites for installing Lycia VS Code Extension:
- Install Visual Studio Code;
- Install Lycia components.
Installing Visual Studio Code
Step 1. Visit code.visualstudio.com and select a version of the installer for OS where LVSCE will work in (Windows or Linux):
Step 2. After the installer download finishes, run it to install VS Code.
Installing Lycia Components for LVSCE Usage
Step 1. Refer to this page to learn how to install Lycia using QPM GUI or command line.
Step 2. Acquire and activate your Lycia license. For more information on the licensing process, follow this link: Lycia licensing.
Installing Lycia VS Code Extension
There are three methods of installation of LVSCE:
- From VS Code instance by installing the Extension from Extension Marketplace;
- By downloading the .vsix file from the Extension Marketplace and then installing LVSCE with this file;
- By installing LVSCE using the .vsix package from Open VSX Registry.
Install LVSCE From VS Code Instance
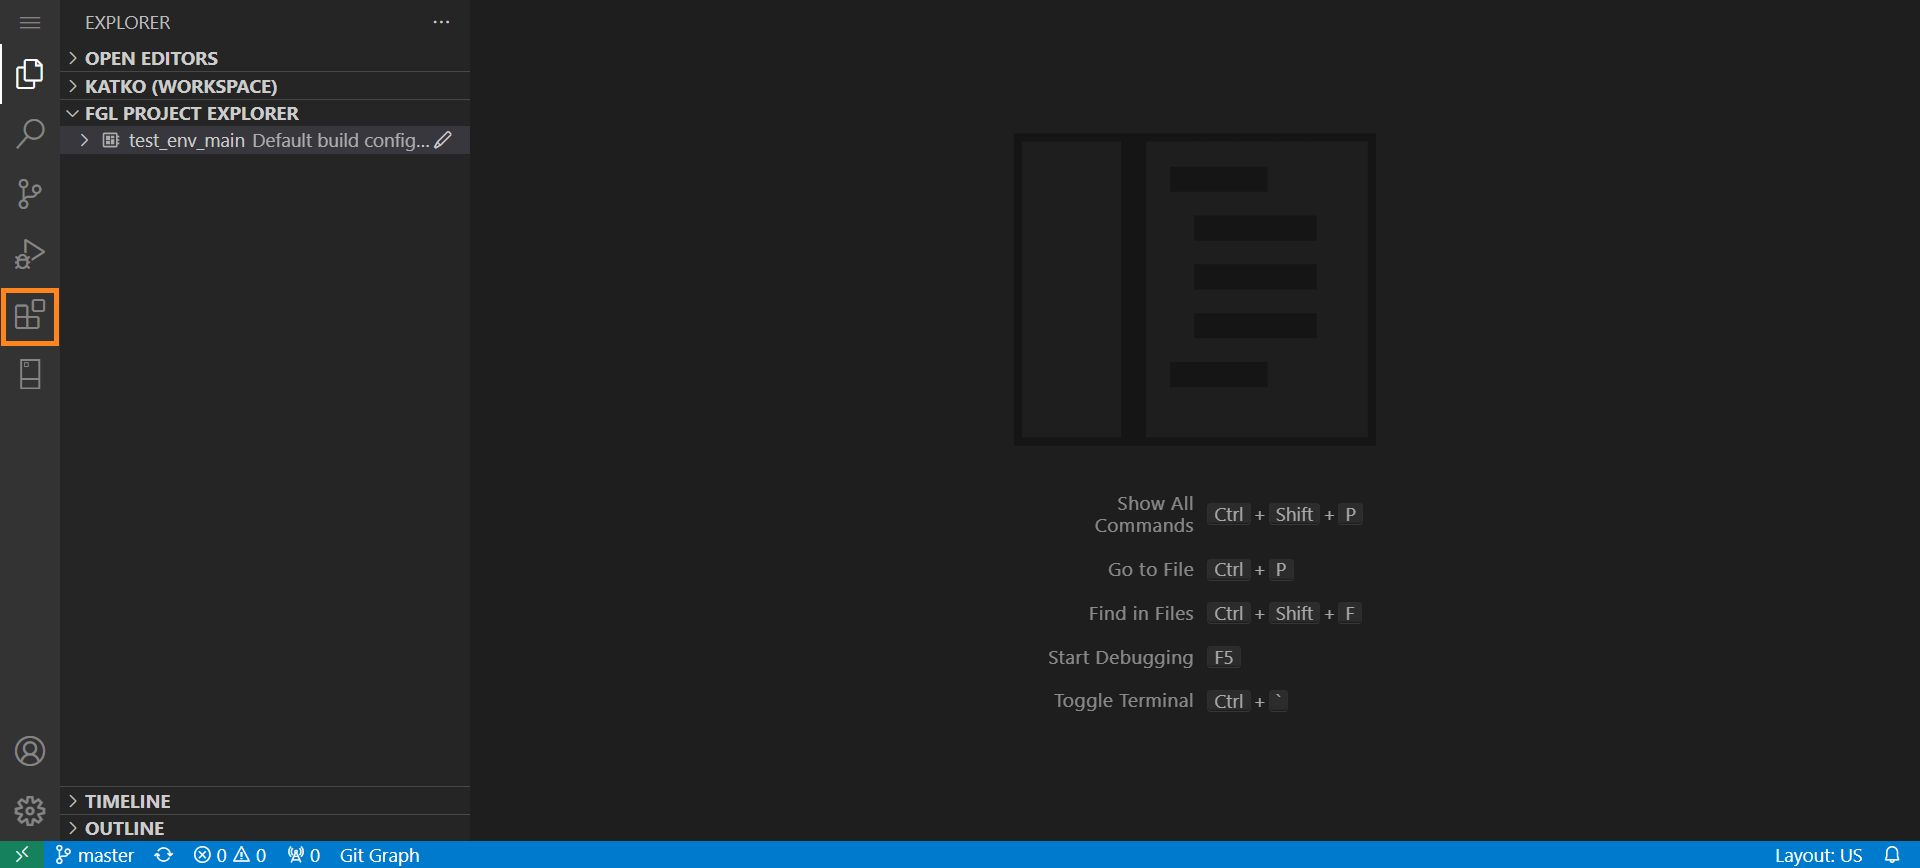
Step 1. In VS Code’s main window, click the Extensions icon in the Activity Bar:
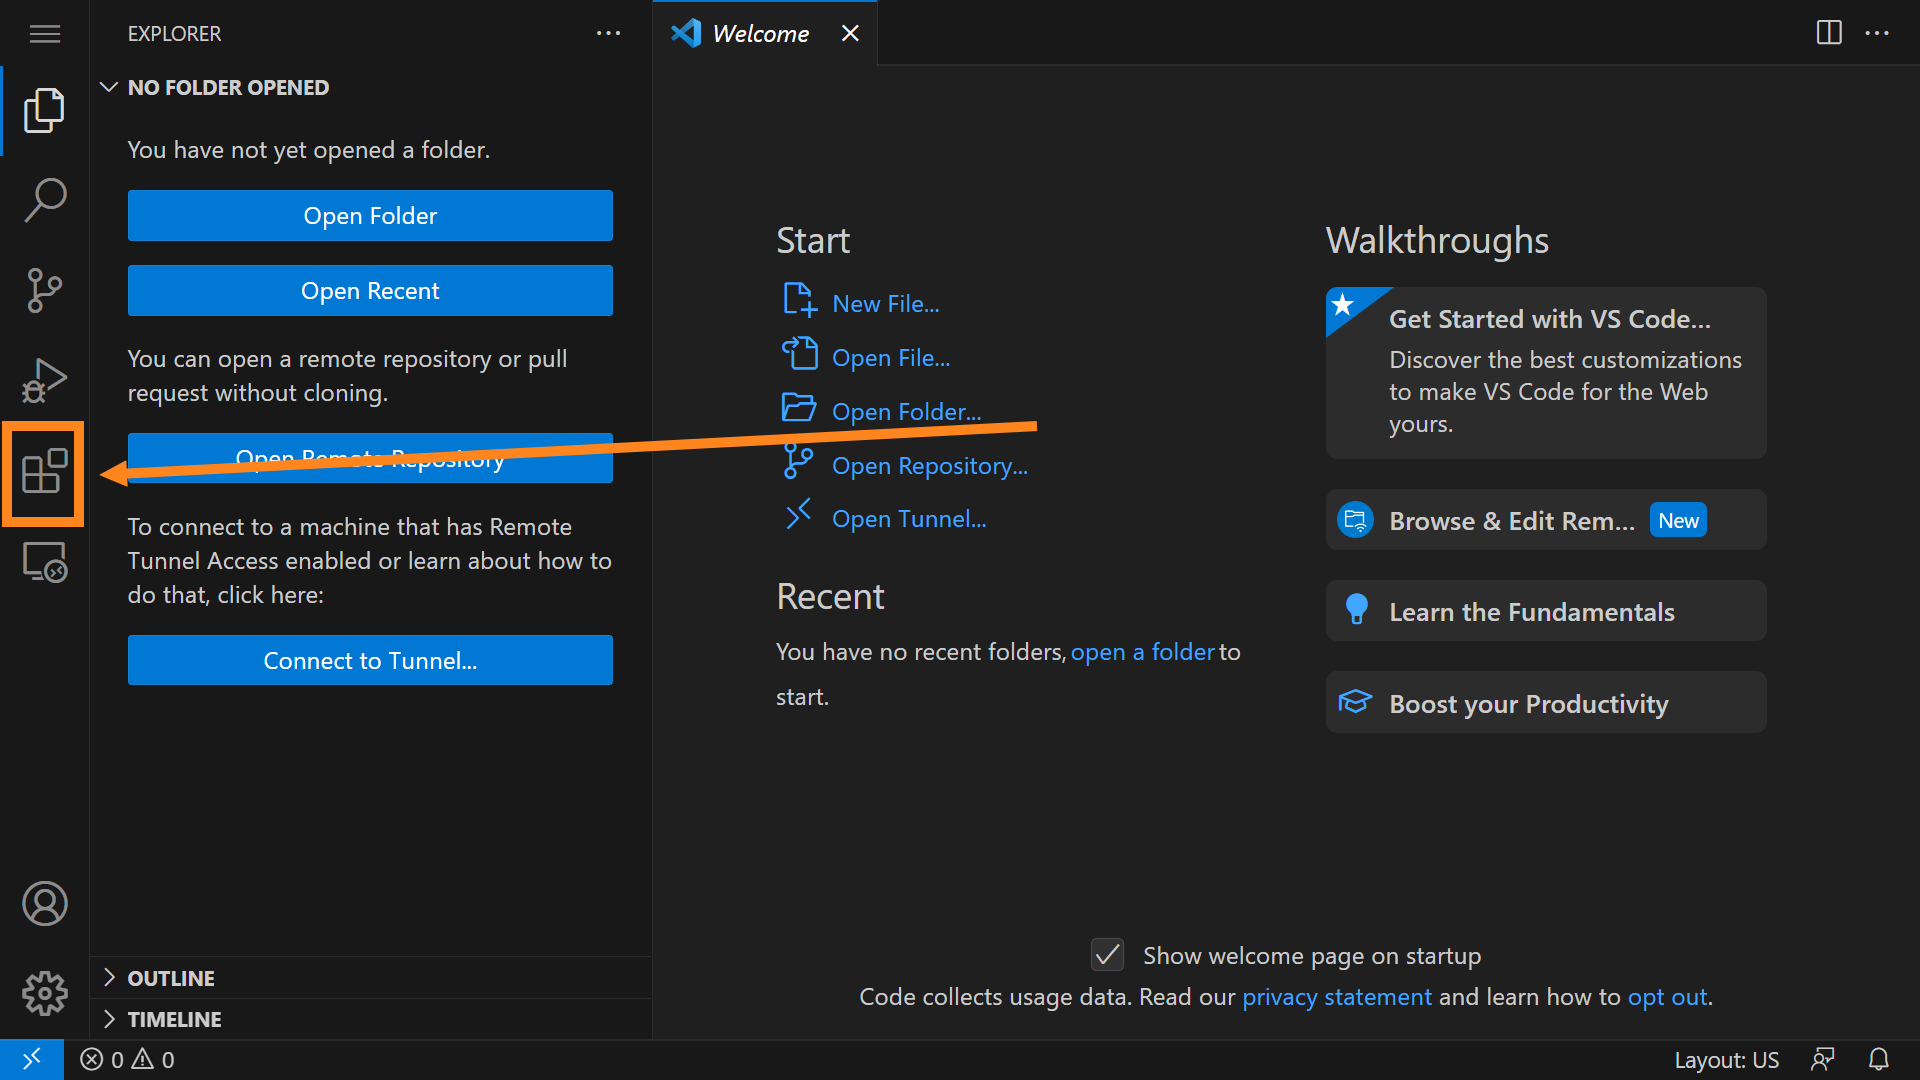
The Extensions area will open:
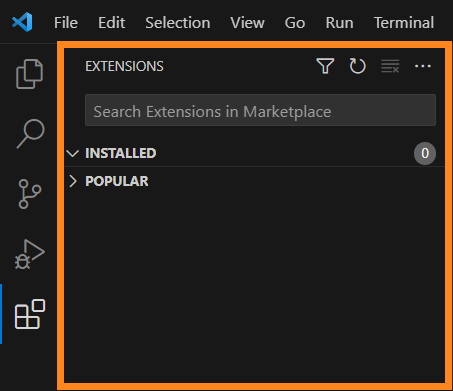
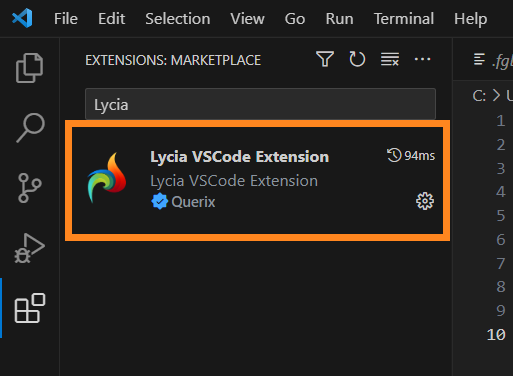
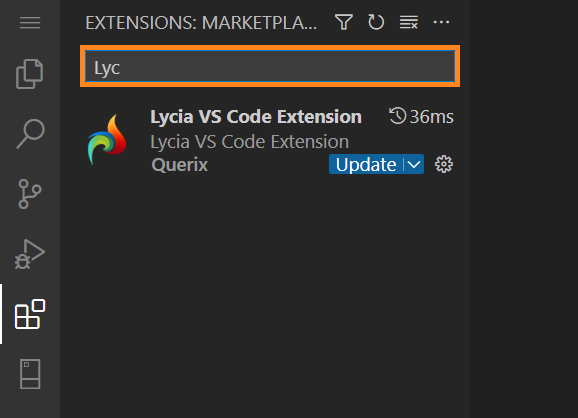
Step 2. Find a search bar in this area, and type Lycia:
Step 3. Find LyciaVS Code Extension.
From that view, you can:
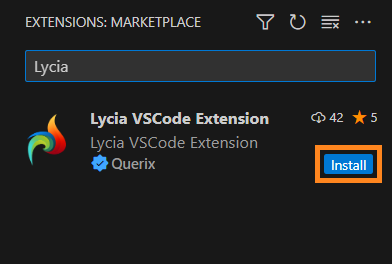
- click Install button within the Extensions Marketplace label of LVSCE:
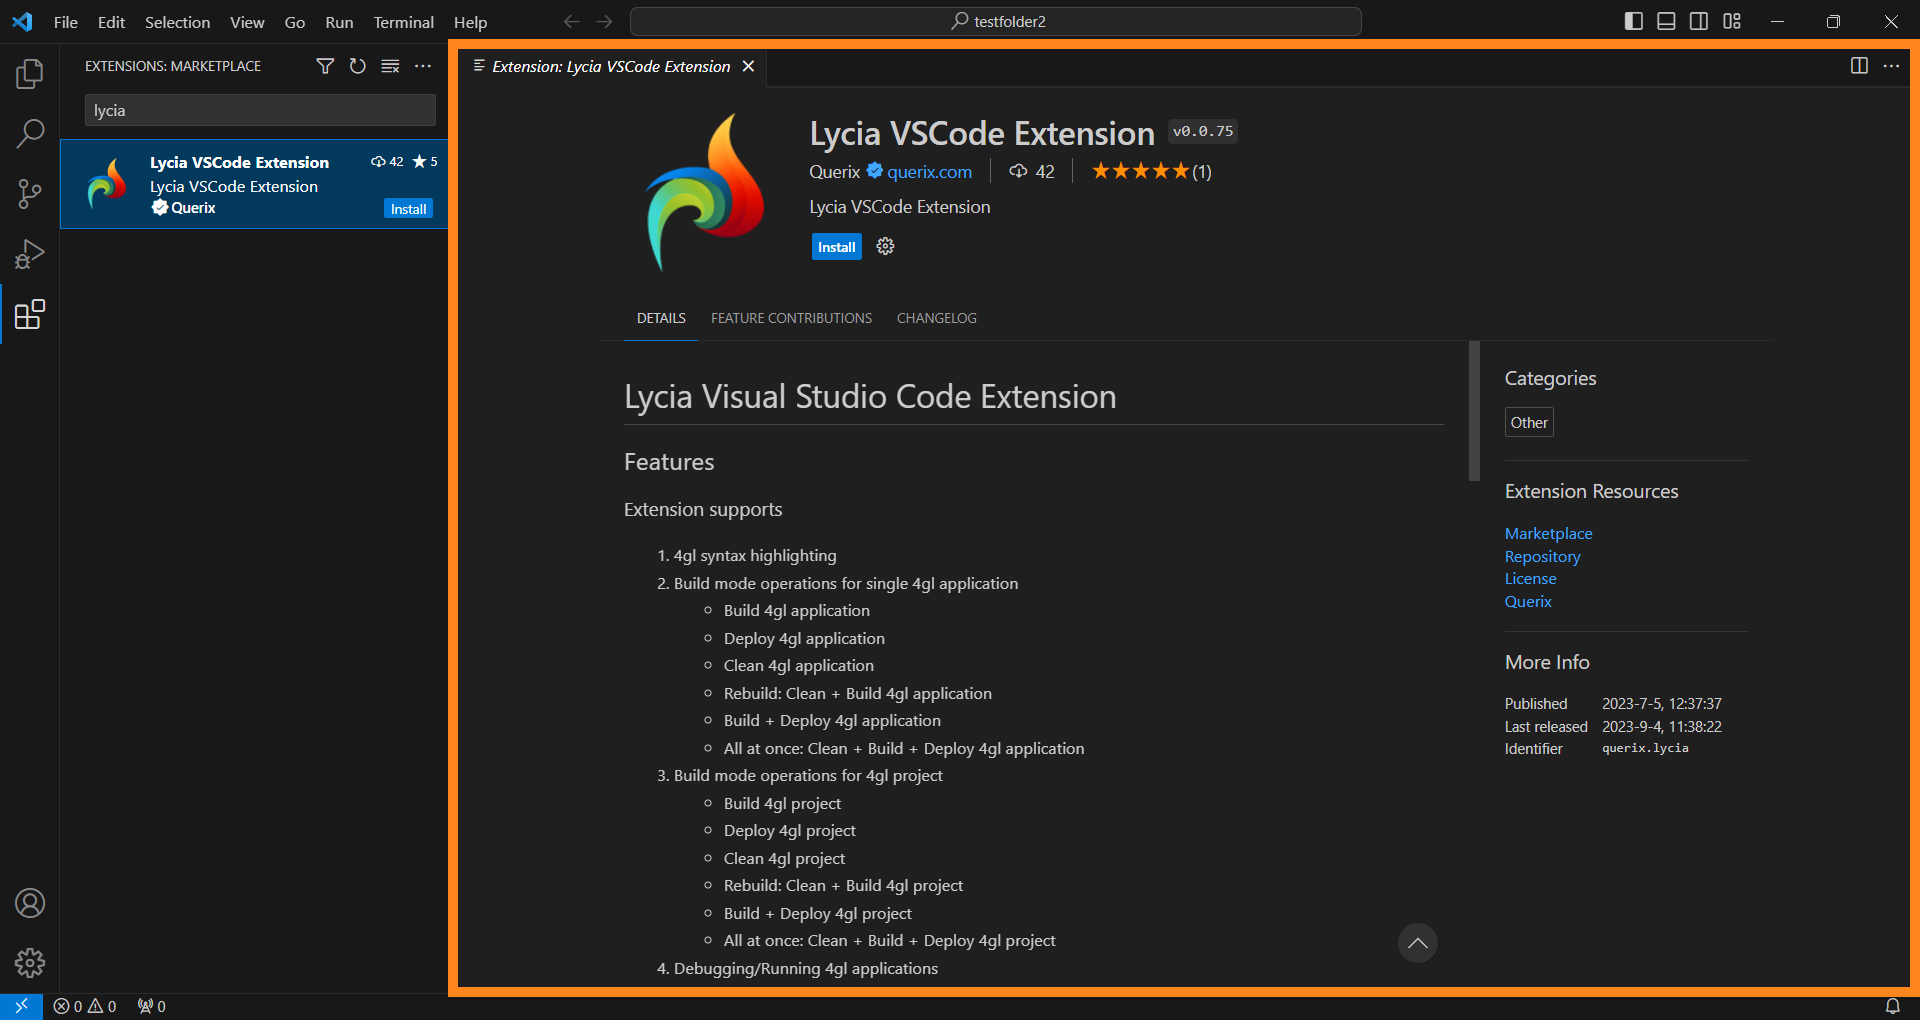
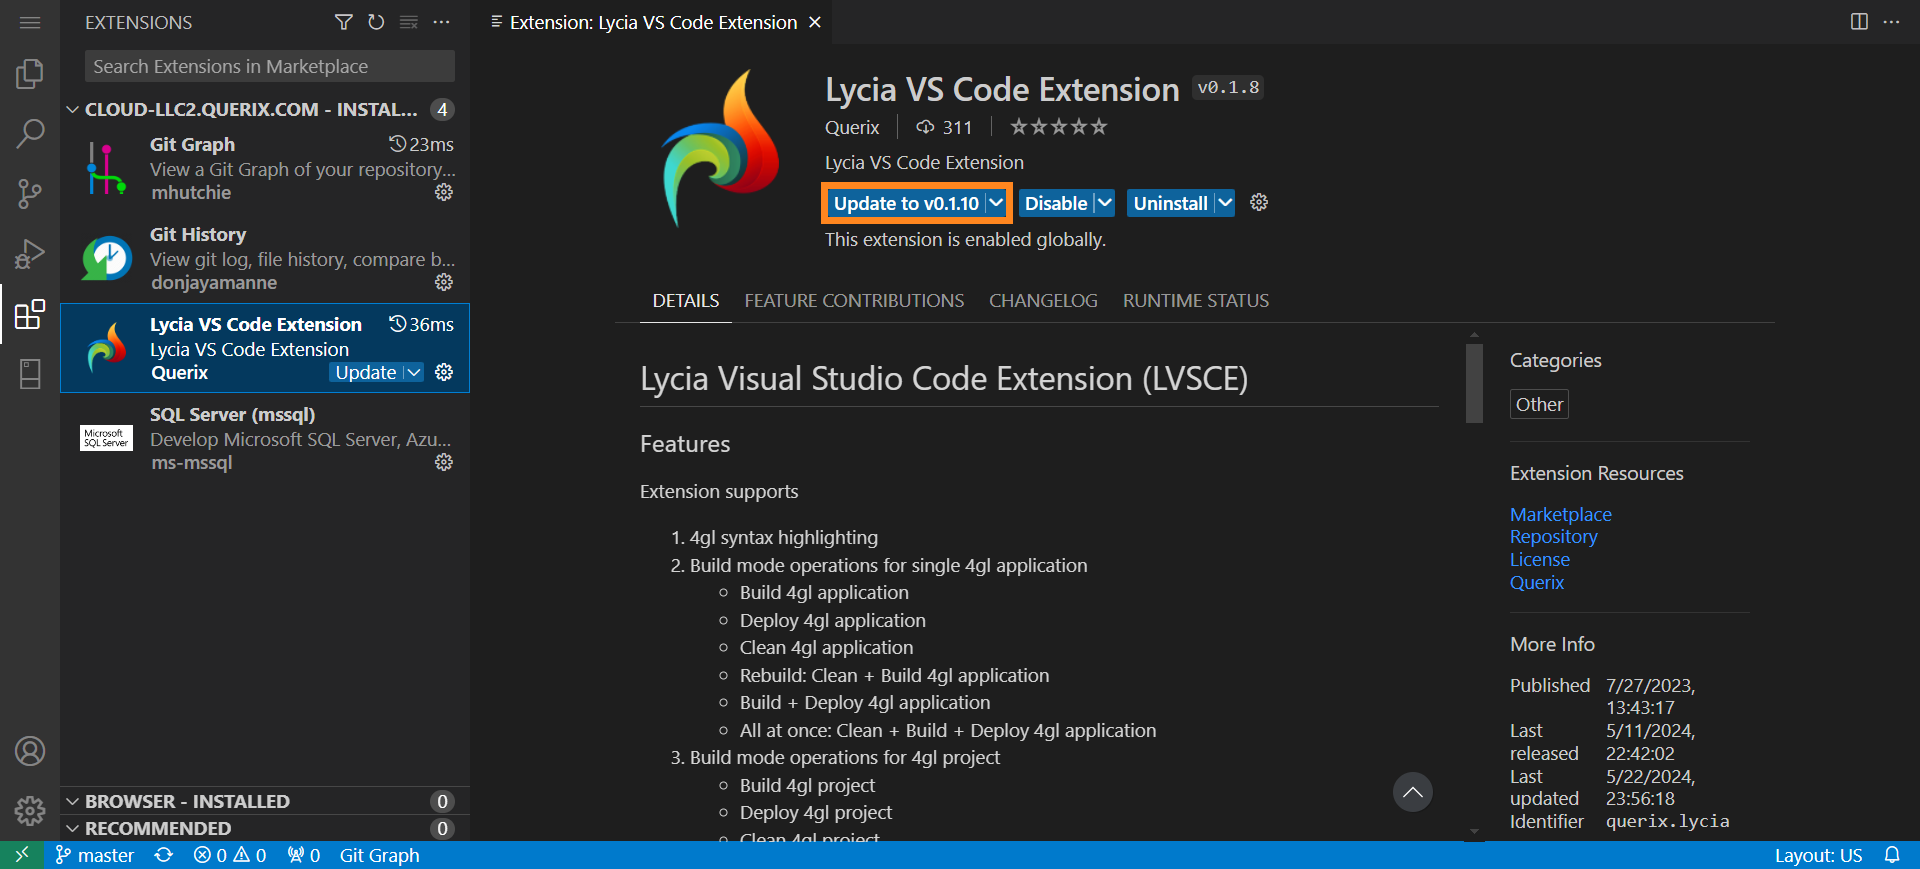
- click LVSCE label in the Extensions Marketplace. This will open Extension’s page, where you can find the Install button, as well as full information about the Extension:
Step 4. Click the Install button in either of views.
In Extension Marketplace label of LVSCE, the Install button will disappear, and a gear Manage icon will appear:
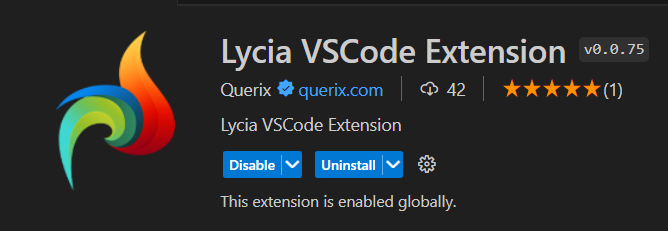
In the LVSCE page, you will have Disable and Uninstall buttons, and a Manage icon:
This will mean that LVSCE has been installed and is ready for work. You can go to your Explorer area and start working with your programs.
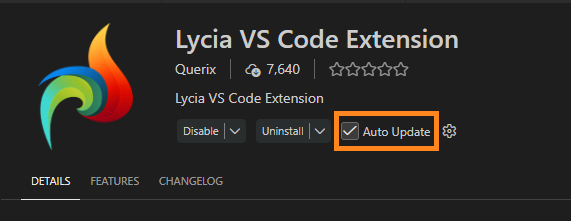
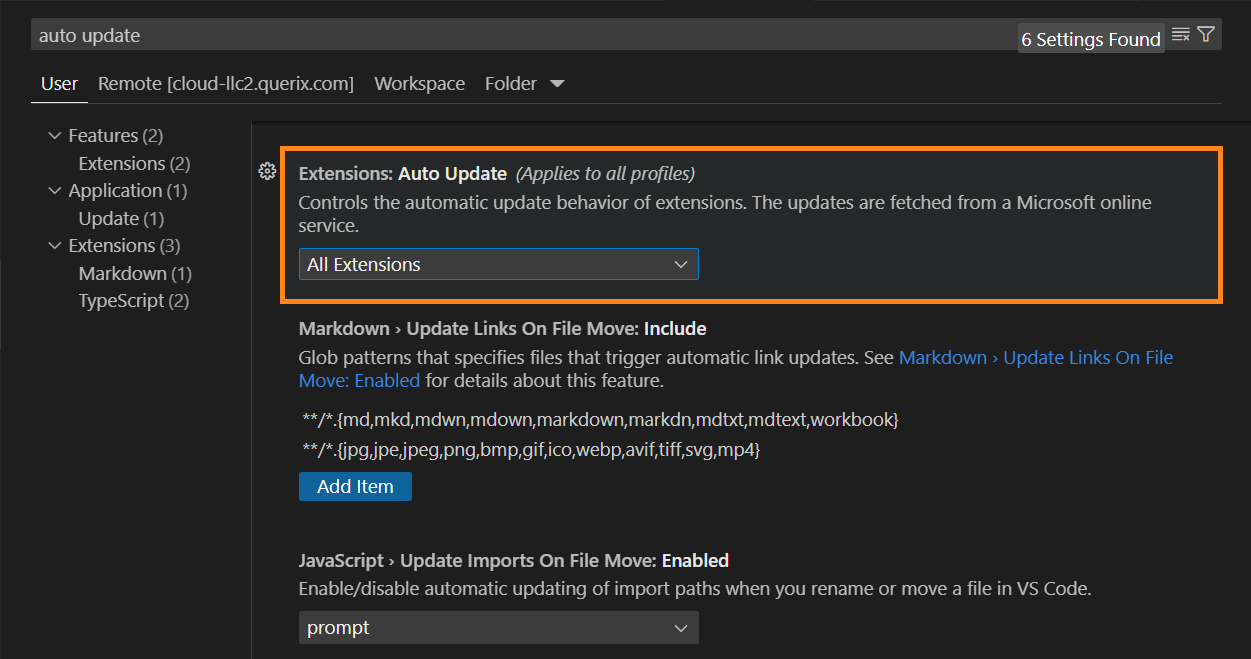
Note: We recommend keeping the Auto Update feature of VS Code on for this extension (can be set on the extension's page in VS Code's Marketplace (1↓) or in VS Code's Settings area (2↓) to ensure the seamless work of LVSCE and the presence of all features):
Install LVSCE From .vsix File From VS Code Extension Marketplace
Step 1. Follow the link marketplace.visualstudio.com/items?itemName=Querix.lycia
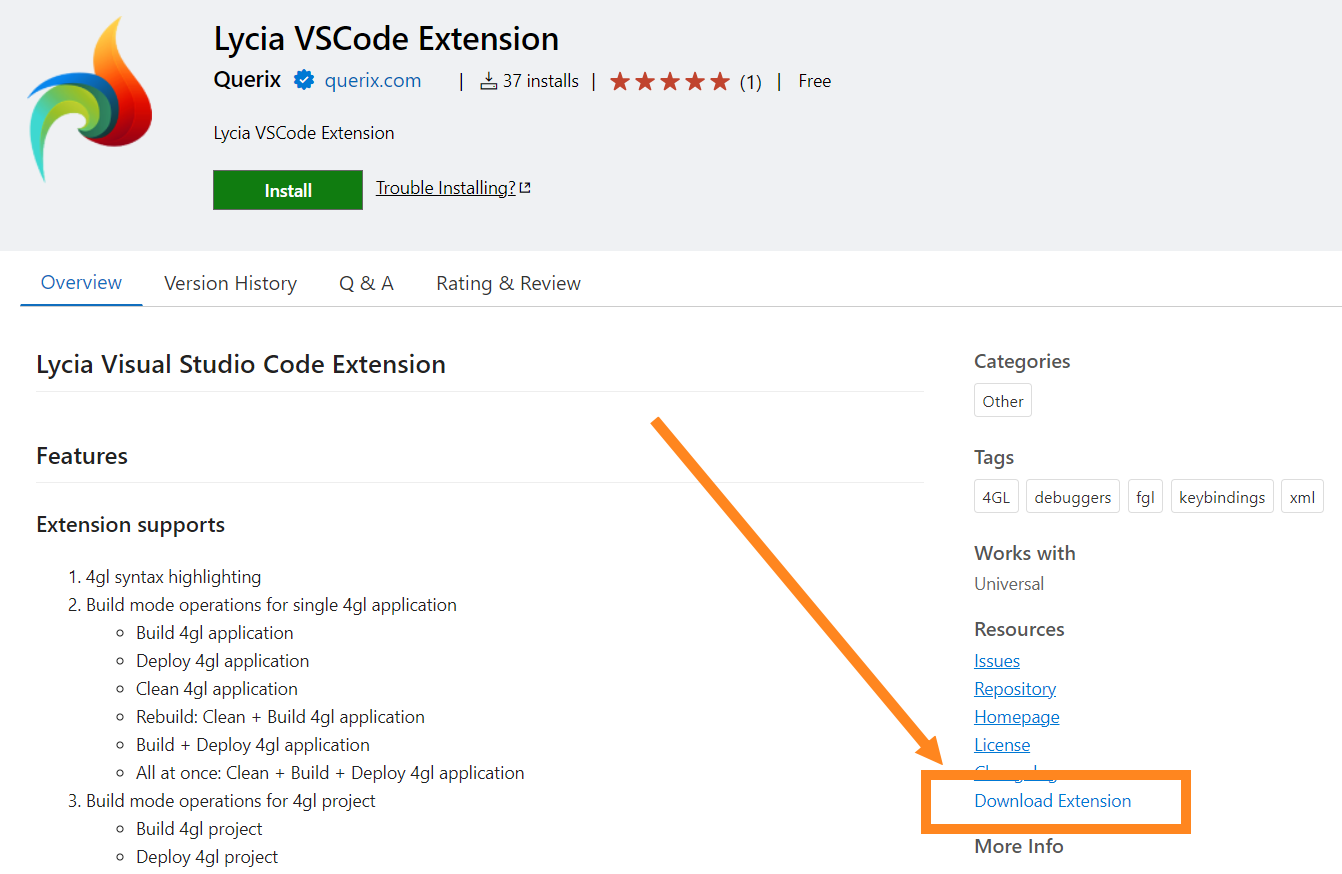
Step 2. In the Resources section of the page, find the Download Extension link:
Step 3. Download the file and save it.
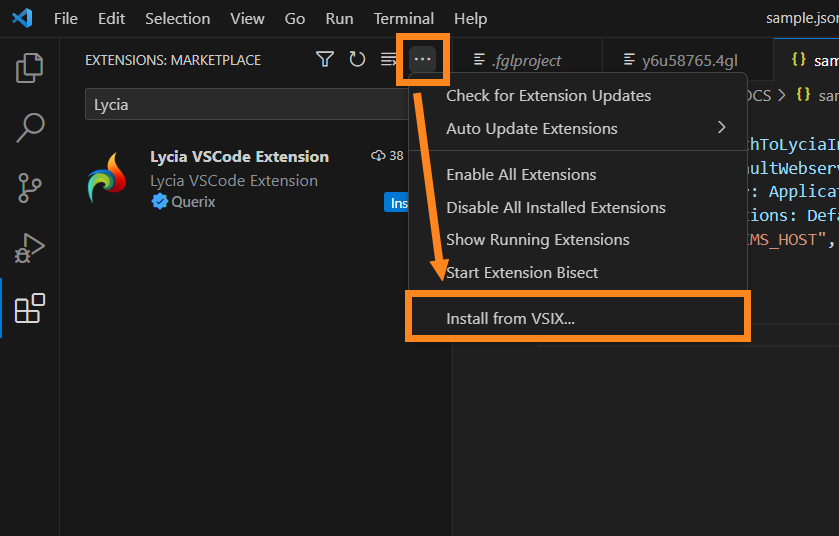
Step 4. In VS Code instance, go to Extensions area. In the upper part of that area, click the More Actions (···) button and select the Install from VSIX option:
The dialog for the file choice will open. It may vary depending on whether VS Code is installed locally or on the code-server. Remote version of VS Code will search for the file in server’s directories, local version of VS Code will open the File Explorer in the OS:
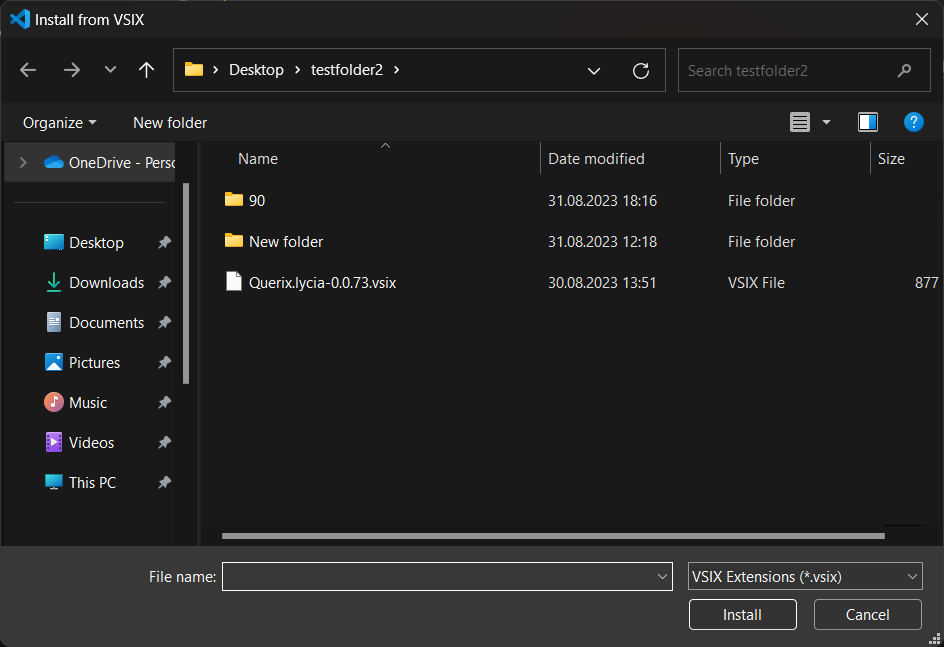
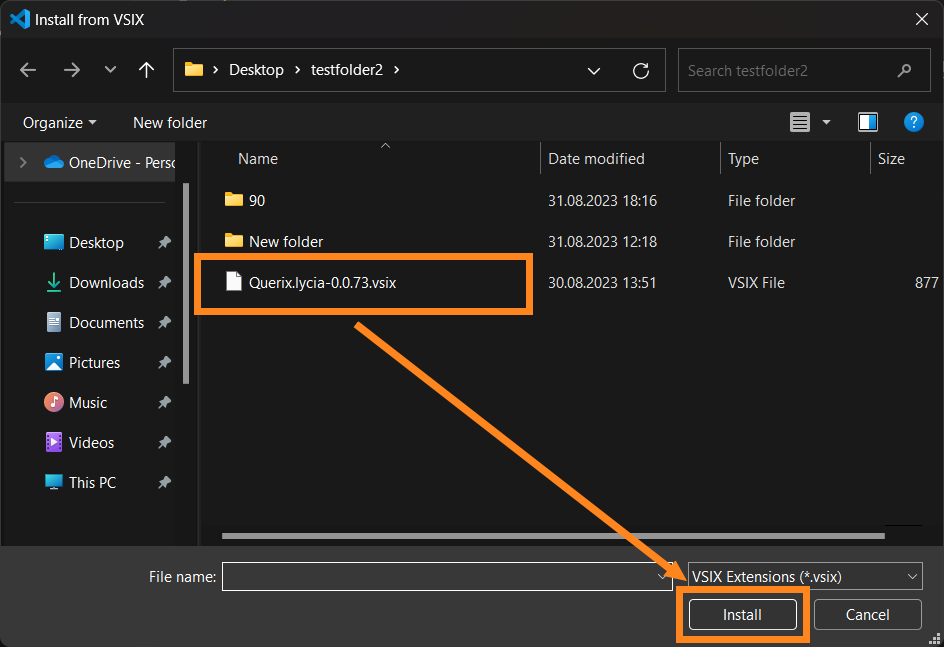
Step 5. Select the Extension’s .vsix file and click the Install button:
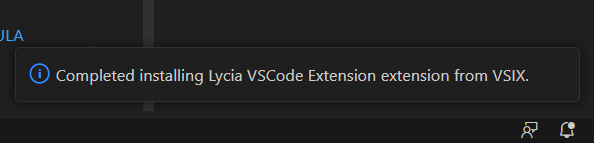
When the installation is complete, VS Code will notify you about it with the message in lower-right corner of the instance window:
After that, you can switch to your Explorer area and start working with your programs.
Install LVSCE From Open VSX Registry
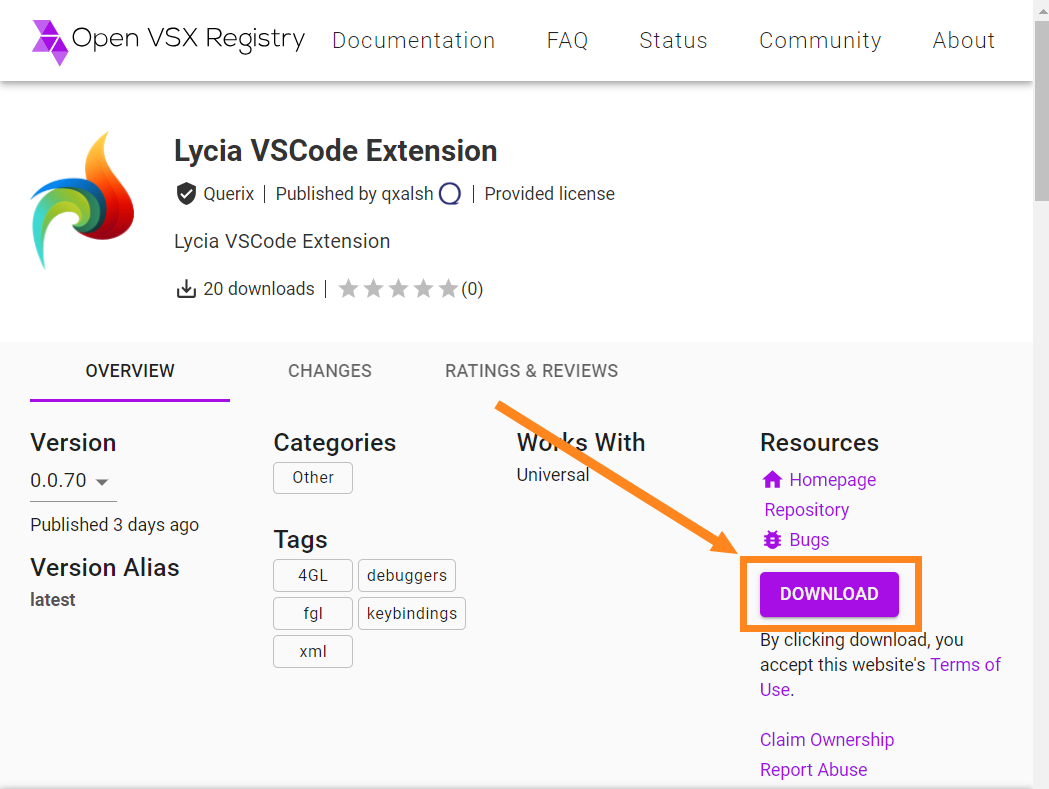
Step 1. Go to open-vsx.org/extension/Querix/lycia and find the Download button:
Step 2. Save the .vsix file.
Step 3. In your VS Code, go to Extensions area. In the upper part of that area, click the More Actions (···) button and select the Install from VSIX option:
Step 4. Select the Extension’s .vsix file and click the Install button:
When the installation is complete, VS Code will notify you about it with a message in lower-right corner of the instance window:
After that, you can go to your Explorer area and start working with your programs.
Video: LVSCE Installation on Windows
In addition to the sections above, we suggest to also watch the following video:
Updating Lycia VS Code Extension
The updating of Lycia VS Code Extension comes in two parts: the updating of Lycia components and the updating of VS Code Extension.
- To learn how to update Lycia components, refer to the following page: Lycia Installation.
- For the Extension update, follow these steps:
Step 1. Click the Extensions button in the Activity Bar:
Step 2. In the top of Extensions area, find the Search Bar and type in any part of LVSCE name (for instance, Lyc or Lycia) until the Extension is displayed:
Step 3. Click the Lycia VS Code Extension label in the list:

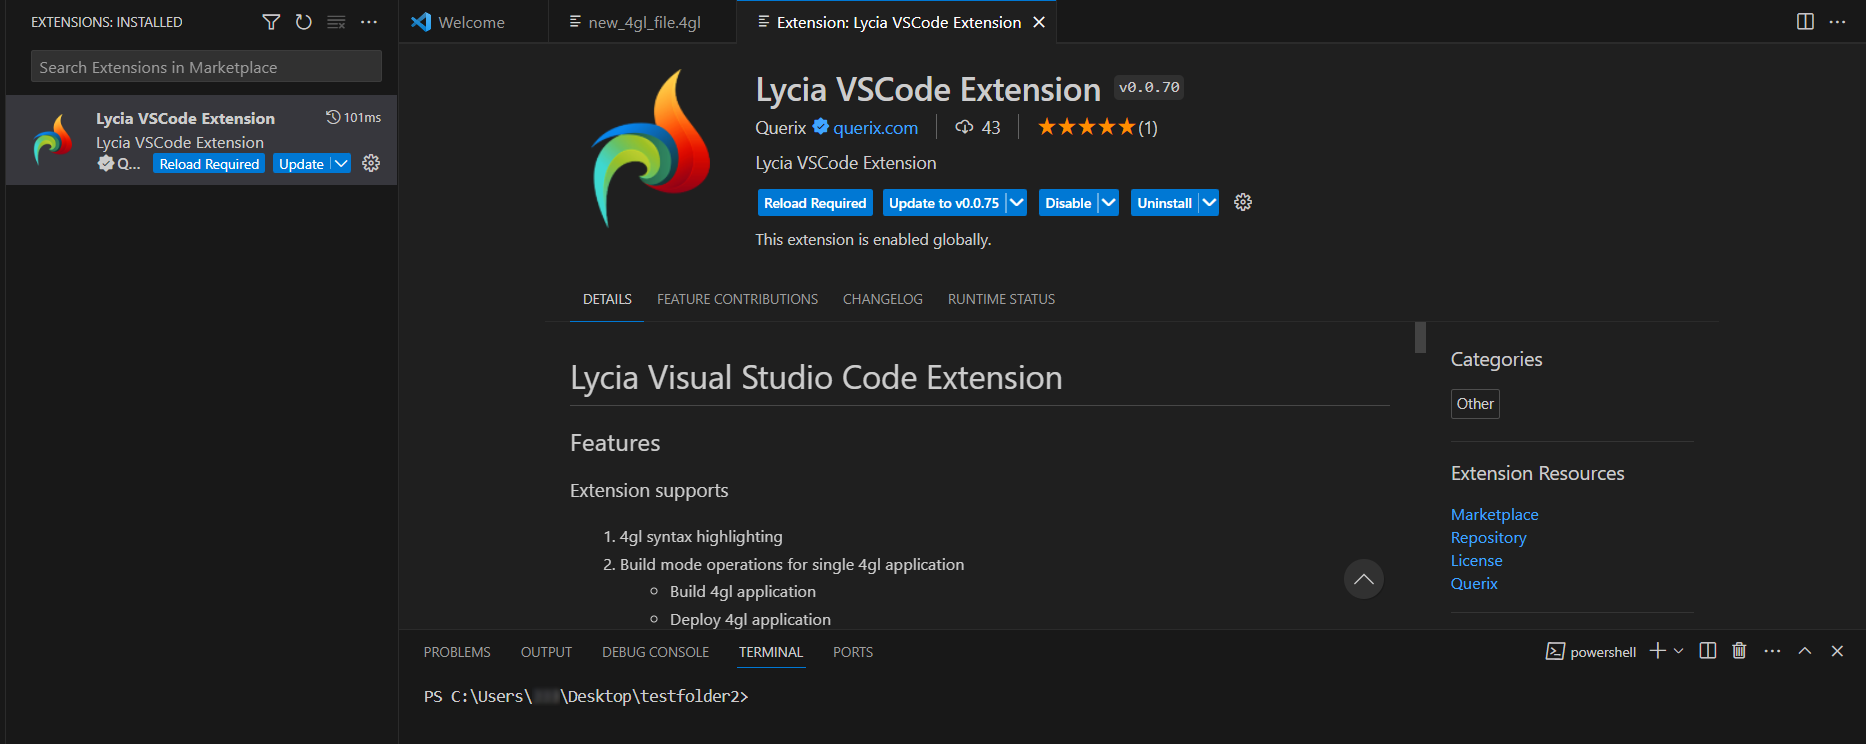
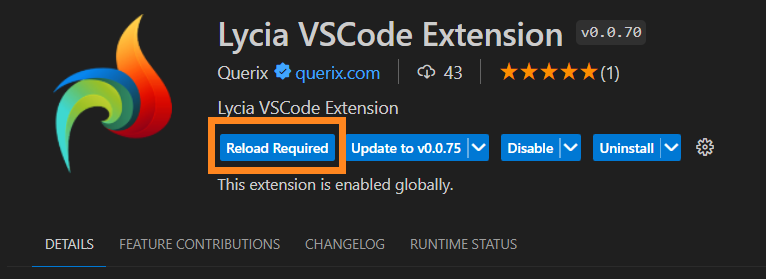
Step 4. After the Extension's page opens, find the Update to <version_number> button at the top of that page:
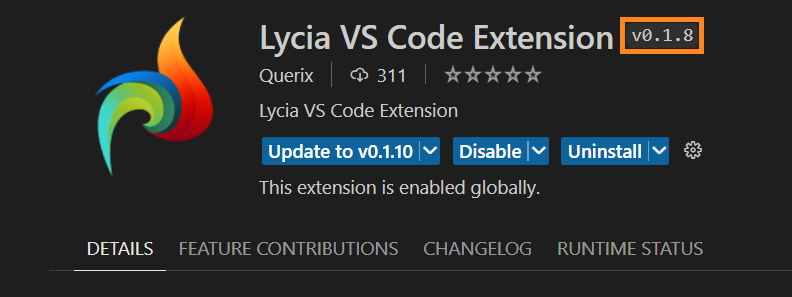
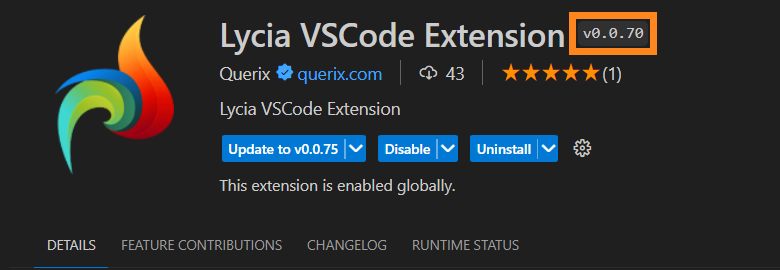
Note: The currently installed Extension version number is displayed next to the Extension name on its Marketplace Page:
After you click the Reload Required button, the VS Code instance will reload. After that, it will be ready for further work on your projects.
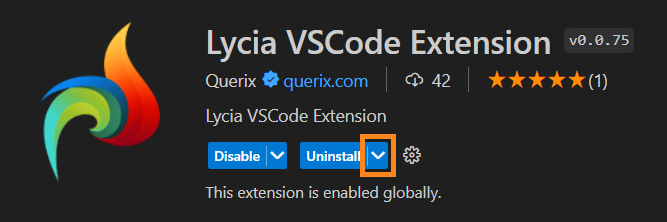
Uninstalling Lycia VS Code Extension
Deinstallation of Lycia VS Code Extension is the same as of any other VS Code extension. You can read about it in the following page of VS Code documentation: Uninstall an extension.
To install another version from VS Code’s LVSCE page, proceed as follows:
Step 1. Go to the LVSCE page as shown under Step 1–Step 4 of the Install LVSCE From VS Code Instance section.
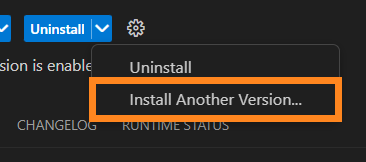
Step 2. Click the More Actions part of the Uninstall button:
Step 3. From the dropdown menu that appears, select the option called Install Another Version:
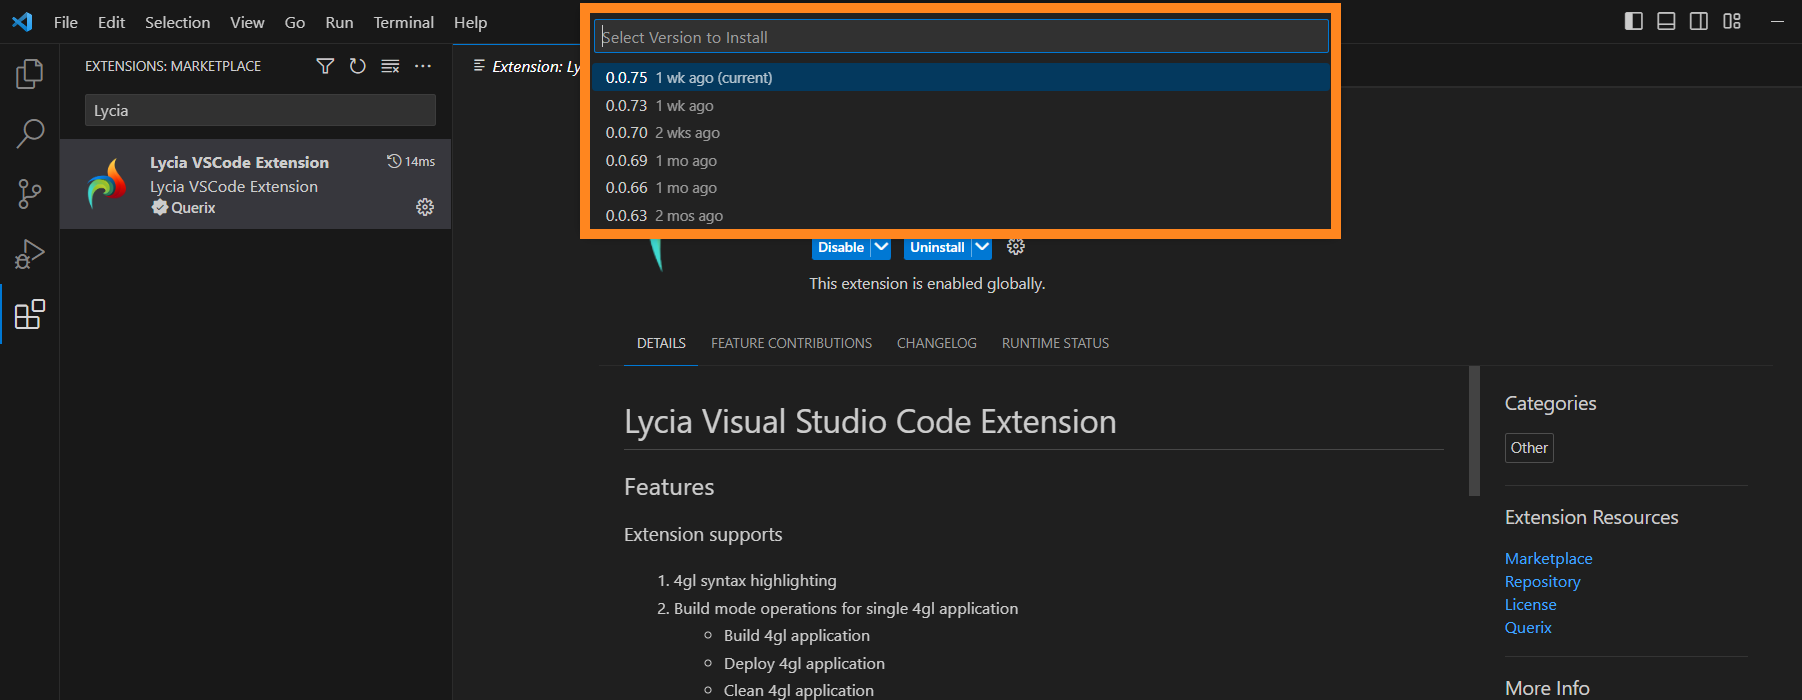
VS Code will display the list of available versions in the top of its main window.
Step 4. Click the version of LVSCE you want to install:
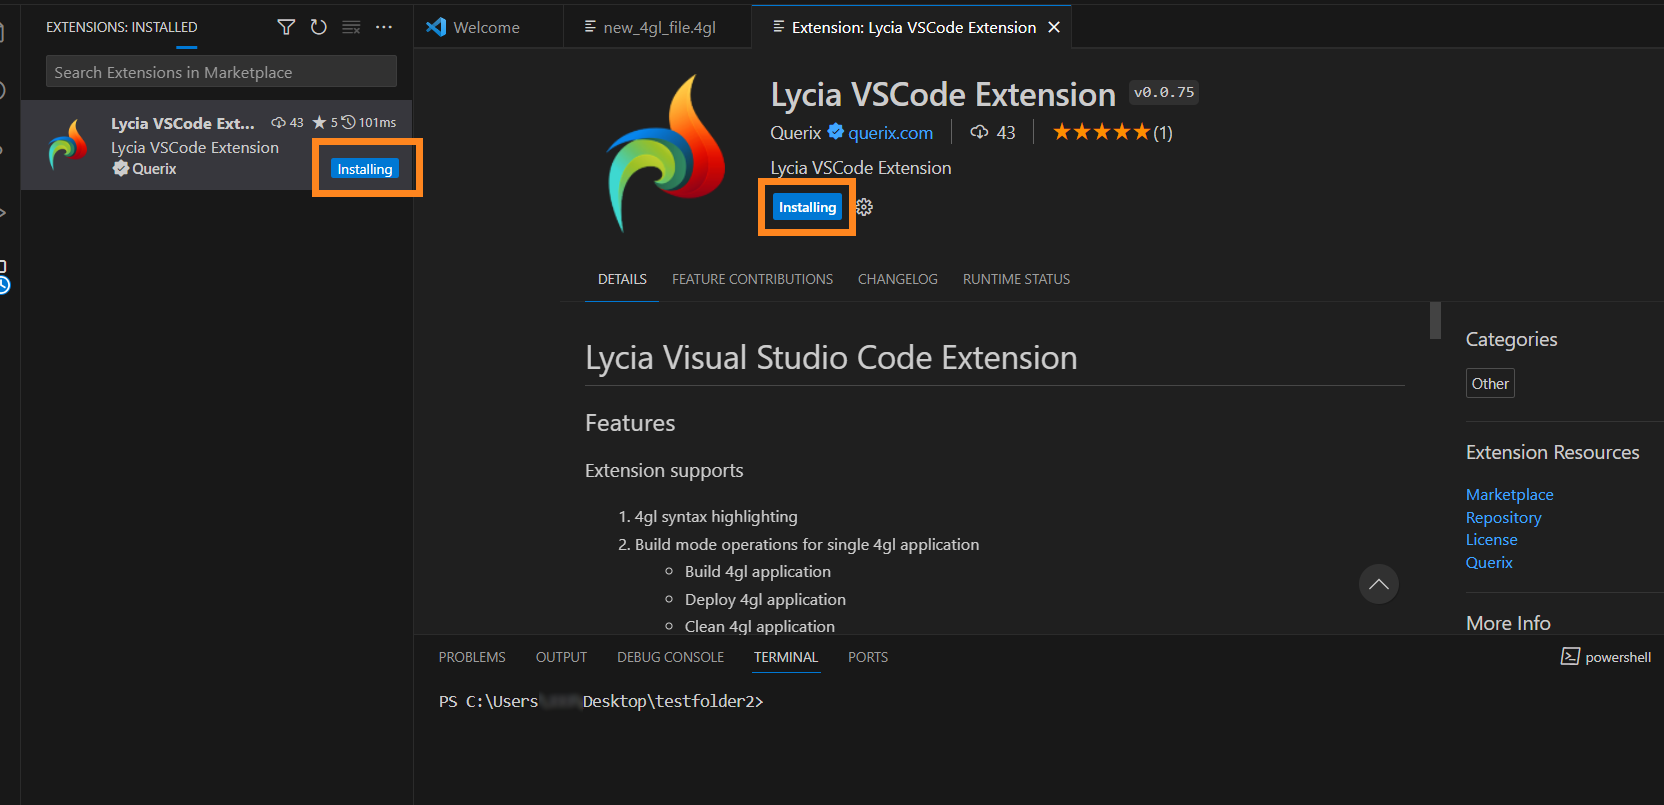
After you click a certain version, VS Code will display the installation process:
When the installation will have finished, you will get two more buttons – Reload Required and Update – on the Marketplace label of the Extension and on its page:
Step 5. Click the Reload Required button to finish the installation:
VS Code will reload. After that, you will have your chosen version of LVSCE installed and ready for work:
See next: LVSCE Layout and Interface