'zooms': The Filter For Large Arrays
'zooms' Setting Overview
The zooms setting has been created to serve as a filter for large arrays of lookup data (for instance, in arrays of more than 1000 rows). This is a map of function field names and definitions of form for selecting a certain value.
Enabling the Setting
Note: Before proceeding, get acquainted with the Settings Levels section of LyciaLowCode Settings page (the concept of levels is essential for configuring multiple interactions and the multitable support).
The definitions like LET <setting_variable>.<setting_name> = <value> refer to the InteractForm_Settings level, while LET <setting_variable>.views["<db_table_name>"].<setting_name> = <value> refers to the View level.
This setting can be defined for:
InteractForm_Settings level: No
View level: Yes
Step 1. Create the zooms filter in .fm2 file or in .4gl file.
To define the zooms in .fm2 form file, proceed as follows:
<?xml version="1.0" encoding="UTF-8"?>
<form xmlns="http://namespaces.querix.com/2015/fglForms" interactSettings='[
{
"id": "zoom",
"paged_mode": 1,
"views": {
"test05": {
"screen_record": "scr_with_zoom",
"zooms": {
"test05.test05_fk_char = test06.test06_primary_key": {
"show_columns": [
"test06.test06_col1",
"test06.test06_col2"
]
}
},
"lookups": {
"test06.test06_col1": "test06.test06_primary_key = test05.test05_fk_char"
}
}
}
}
]'>
Or, define zooms interaction in .4gl file as follows:
CALL l_rec_settings.views["test05"].zooms["test05.test05_fk_char = test06.test06_primary_key"].show_columns.append("test06.test06_col1,test06.test06_col2")
Step 2. The field to display the lookup values to has to be a Function Field. Add a Function Field widget to your form, and specify the table name for FK values as the fieldTable property value. Example:
<TextField noEntry="true" dataType="BigInt,,,," visible="true" horizontalAlignment="Left" fieldTable="test05" classNames="fcls_data_widget,fcls_align_left,fcls_length_05" preferredSize="15rem," gridItemLocation="1,0,1,1" identifier="test05_primary_key" />
Setting Usage
Step 1. Click the dropdown button in the Function Field while in Edit mode:
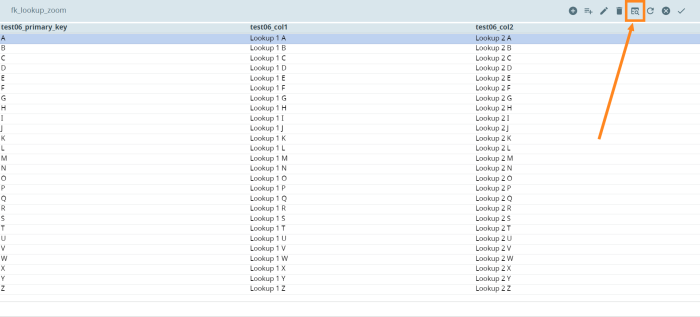
The list of primary keys and their lookup data will open:
Step 2. Then, click the Filter By Query Construct button in the Toolbar:
This action will enable the filter / search bars at the top of the table:
With those, you can filter the list in any column of your choice by entering a query.
Step 3. Enter your query into the filter / search bar, and then click the Accept button on the Toolbar:
After that, the list will display the item that fits the query.
Step 4. To select that item, click the Accept button:
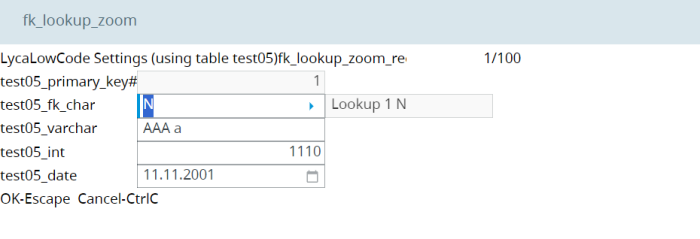
As a result, the Function Field will display the selected item and its lookup value:


