Step 1
Start the New project wizard in one of the ways described here.
Step 2
Choose the necessary project type - C Project or C++ Project - from the list or by direct typing:

After this, the C Project or C++ Project window will open:

Step 3
Enter the name of the new С/С++ project:

Step 4
Specify its location:

By default, all new projects are created in your workspace. However, you can choose Browse... and specify any other folder:

Step 5
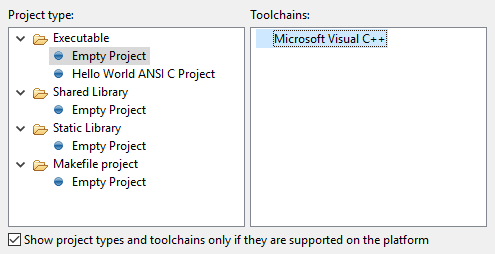
Choose the available project type and the toolchain in the corresponding list:

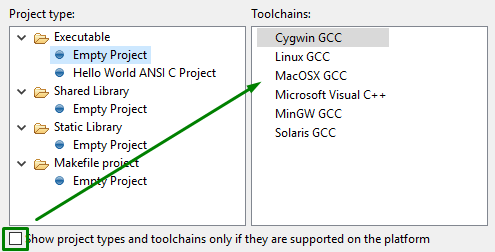
By default, you see only those project types and the toolchains which are supported by the platform you use. However, you can uncheck the checkbox and see all the options provided by the plug-in:

After this, you can press Finish to create your new C/C++ project without defining deployment settings or press Next to set them manually (Step 6).
Step 6
(optional)
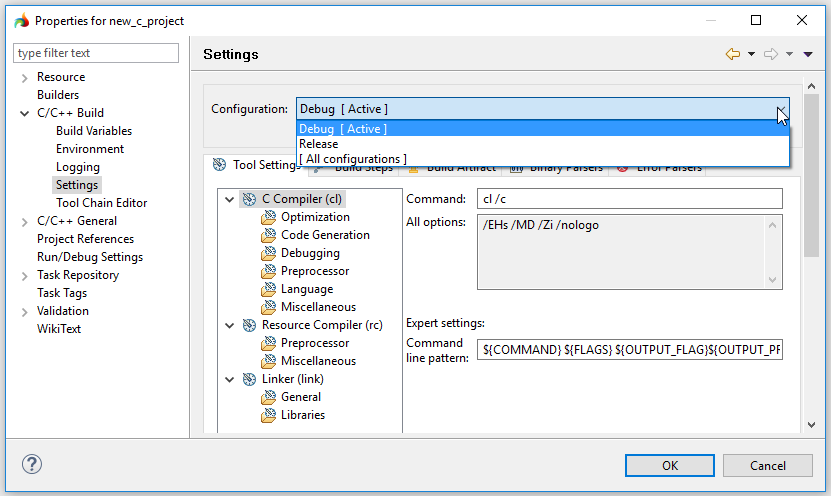
Select the configuration (one or more among the available ones) which will be used for deploying your project:

You can view and manage these configurations in the project properties (accessed by pressing Advanced settings or from the project's right-click menu):

Step 7
When you press Finish, you new C/C++ project is created (you can see it in the project explorer):

