![]()
TextArea is used to input and display text data of different formats in multiple lines of text, i.e. textArea allows splitting data string into several lines.
![]()
|
|
TextArea is used to input and display text data of different formats in multiple lines of text, i.e. textArea allows splitting data string into several lines. |
|
|
|
TextArea inserted in a GridPanel as seen in Lycia Form Designer: |
|
|
Form XML code:
<TextArea visible="true" identifier="f1"/>
Theme element filter XML code:
<ElementFilter ElementName="TextArea">
...
</ElementFilter>
CSS element selector code:
qx-aum-text-area
.qx-aum-text-area .qx-text ↓
Associated 4gl syntax:
Most commonly used form properties:
textChanged
Most commonly used theme properties:
Font:
Inheritance diagram:
|
|
|
Associated ui methods:
SetText →
GetText
SetAllowNewlines →
GetAllowNewlines →
SetAutonext →
GetAutonext →
SetMaxLength →
GetMaxLength →
SetToCase →
GetToCase →
SetUseTabs →
GetUseTabs →
Create
ForName
Influence and behavior:
![]()
To add a textArea to your form,
|
Step 1 |
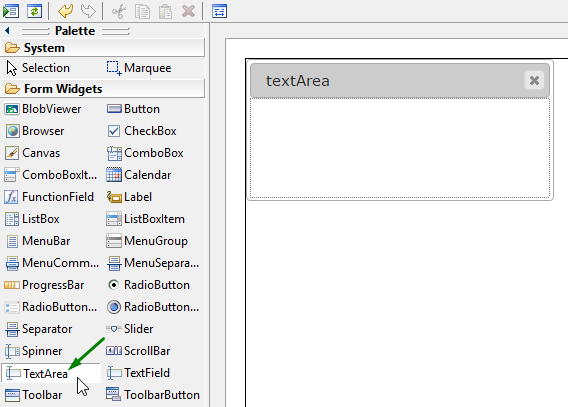
Choose a textArea from the widgets palette by left-clicking its icon:
|
|
Step 2 |
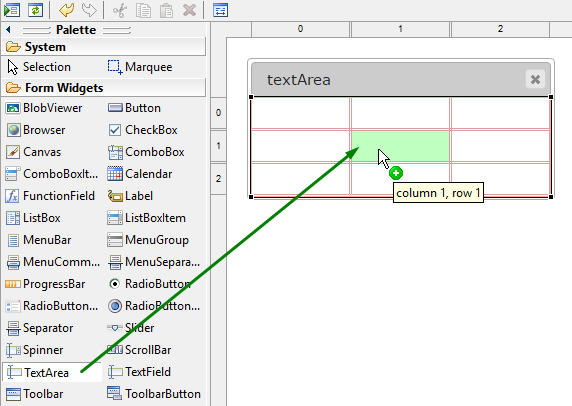
Select the place in the form where you want to put a textArea (in the screenshot below, we choose a cell in a Grid panel):
|
|
Step 3 |
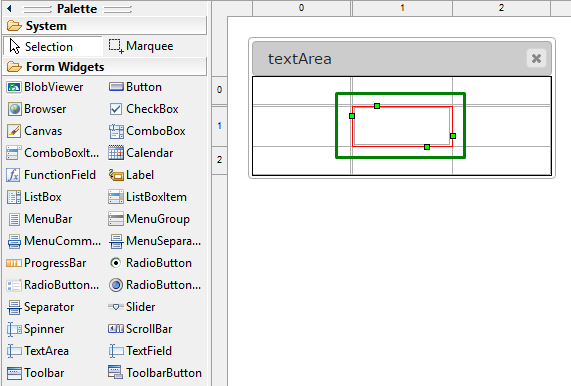
Left-click the selected spot (cell or sector) to place a textArea there:
|
|
|
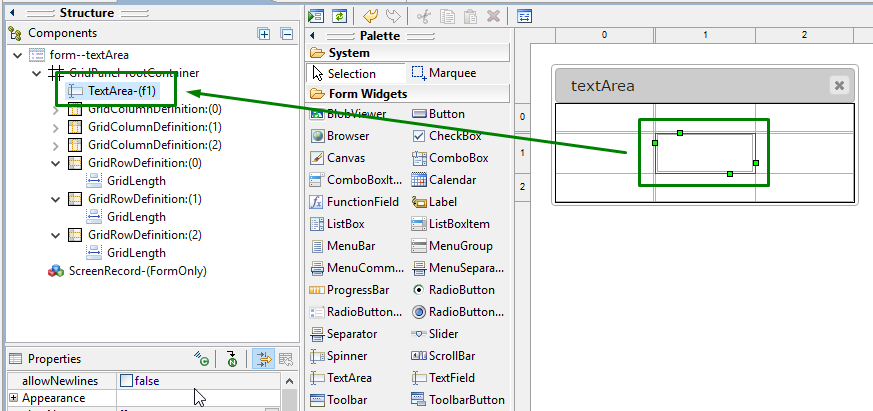
The textArea is now added to your form, and you can see it in the Structure view.
|
![]()
Here you can find out how to change the initial text displayed to the textArea in the form:
|
|
|
Here you can find out how to change the text displayed to the textArea at runtime using ui methods or DISPLAY ... TO statement.
![]()
Here you can find out how to input text to a textArea using the INPUT statement, e.g.:
INPUT BY NAME f1 WITHOUT DEFAULTS
![]()
You can change appearance properties of a textArea in Lycia Form Designer. However, we recommend applying appearance properties via user themes and css.
To apply a property to a textArea, set its value in the user theme, directly or using filters.
In the example below, we change the font color of the text displayed to a definite textArea by applying New Font property with a With ID... filter.
|
property applied in the user theme |
|
|
theme XML code |
<?xml version="1.0" encoding="utf-8"?> <StyleSheet xmlns="http://querix.com"> <ElementFilter ElementName="TextArea"> <StyleSheet> <ElementIdFilter Identifier="f1"> <StyleSheet> <DoStyleAction> <SetProperty> <PropertyPath> <PropertyName>ForeColor</PropertyName> </PropertyPath> <PropertyValue type="CustomizedColor" RedColor="0" GreenColor="128" BlueColor="0" Alpha="255" /> </SetProperty> </DoStyleAction> </StyleSheet> </ElementIdFilter> <ElementIdFilter Identifier="f2"> <StyleSheet> <DoStyleAction> <SetProperty> <PropertyPath> <PropertyName>ForeColor</PropertyName> </PropertyPath> <PropertyValue type="CustomizedColor" RedColor="255" GreenColor="165" BlueColor="0" Alpha="255" /> </SetProperty> </DoStyleAction> </StyleSheet> </ElementIdFilter> </StyleSheet> </ElementFilter> </StyleSheet> |
|
runtime appearance |
|
In the example below, we use css to change the text style of the button:
.qx-aum-text-area .qx-text {
padding: 2px;
padding: 5px 10px;
color: white !important;
font: bold 14px "Calibri","Helvetica Neue", Sans-Serif;
}
![]()
At runtime, textAreas can be manipulated with ui methods.
Here you can find out how to enable multiple-lines display or specify the application behavior after pressing the Enter key at runtime using the setAllowNewLines method:

Here you can find out how to specify the application behavior after pressing the Tab key at runtime using the setUseTabs method:

Here you can find out how to set the maximum length for strings input to a field using the setMaxLength method:

Here you can find out how to move input to the next field after the value specified for maxLength is reached using the setAutonext method:

Related articles: