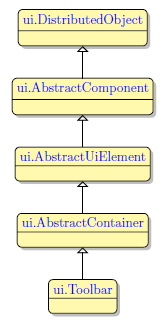
Toolbar
Form and theme XML code and CSS element selector
Most commonly used form and theme properties
Toolbar contains a number of buttons which are used to invoke actions.

Toolbar with 2 toolbar buttons inserted in a Grid panel as seen in Lycia Form Builder.

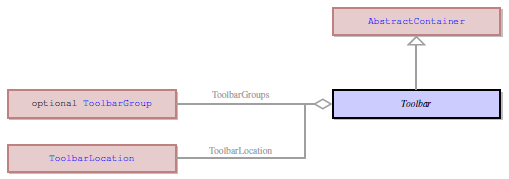
<Toolbar visible="true" identifier="toolbarMain1">
<ToolbarGroup visible="true" identifier="tbGroup2"/>
</Toolbar>
Theme element filter XML code:
<ElementFilter ElementName="Toolbar">
...
</ElementFilter>
CSS element selector code:
qx-aum-toolbar
.qx-aum-toolbar .qx-text
.qx-aum-toolbar .qx-image
|
|
|
Most commonly used form properties:
hideLabels
Most commonly used theme properties:
Size
Associated ui methods:
SetHideLabels→
GetHideLabels →
SetToolbarLocation
GetToolbarLocation
To add a Toolbar to your form, drag-and-drop the Toolbar widget from the Palette to the Design Area, into the Root Container.
Toolbar can be stored in form files and then applied to other forms and windows.
To create a Toolbar from a file, do the following:
Step 1. Create a form which contains only a toolbar (and no other objects besides the default ones).
CALL ui.Interface.LoadToolbar("mytoolbar_form")
or
CALL MyForm.LoadToolbar("mytoolbar_form")
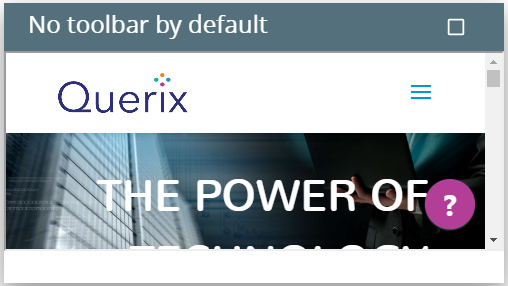
Form without a toolbar:
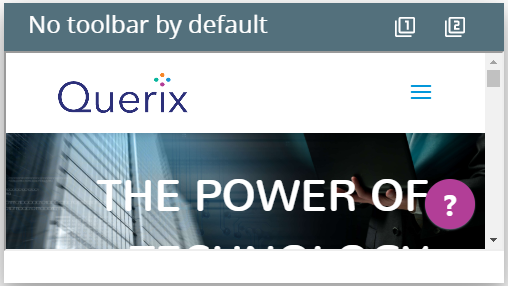
Form with the loaded toolbar:
Toolbars added in such a way can be used in MDI containers.
At runtime, toolbars can be populated and manipulated with ui methods.
However, if you have already added a Toolbar widget to the form, you can populate it via ui methods:
DEFINE tb_group ui.ToolbarGroup
DEFINE tb_button ui.ToolbarButton
...
LET tb_group = ui.ToolbarGroup.Create("tbg","toolbar")
LET tb_button = ui.ToolbarButton.Create("bt1","tbg")
CALL tb_button.SetText("form button")
To make this newly created toolbar button able to trigger any actions, you must set the event for it:
DEFINE buttonEvent ui.BackgroundServerEventHandler
...
LET buttonEvent = ui.BackgroundServerEventHandler.Create()
CALL buttonEvent.SetCallBackAction("display")
CALL tb_button.SetOnInvoke(buttonEvent)
So the simple algorithm for populating toolbars by ui methods is this:
- Add a Toolbar widget to your form.
- Define variables of ui.ToolbarGroup, ui.ToolbarButton, and ui.BackgroundServerEventHandler data types in your 4gl code.
- Use the create() method to create a toolbar group.
- Use the create() method to create a toolbar button. Make sure that you have specified the correct toolbar group.
- Set the event for this toolbar button.
All the toolbar properties can be changed at runtime by ui methods.